Change a requirement
You can change work that you asked for: its words, dates and links. This page also shows how to start a requirement again from the beginning.
Open a requirement
- Click My Requirements in the menu.
- Click the card of the requirement.
-
The requirement page opens. It shows everything about it.
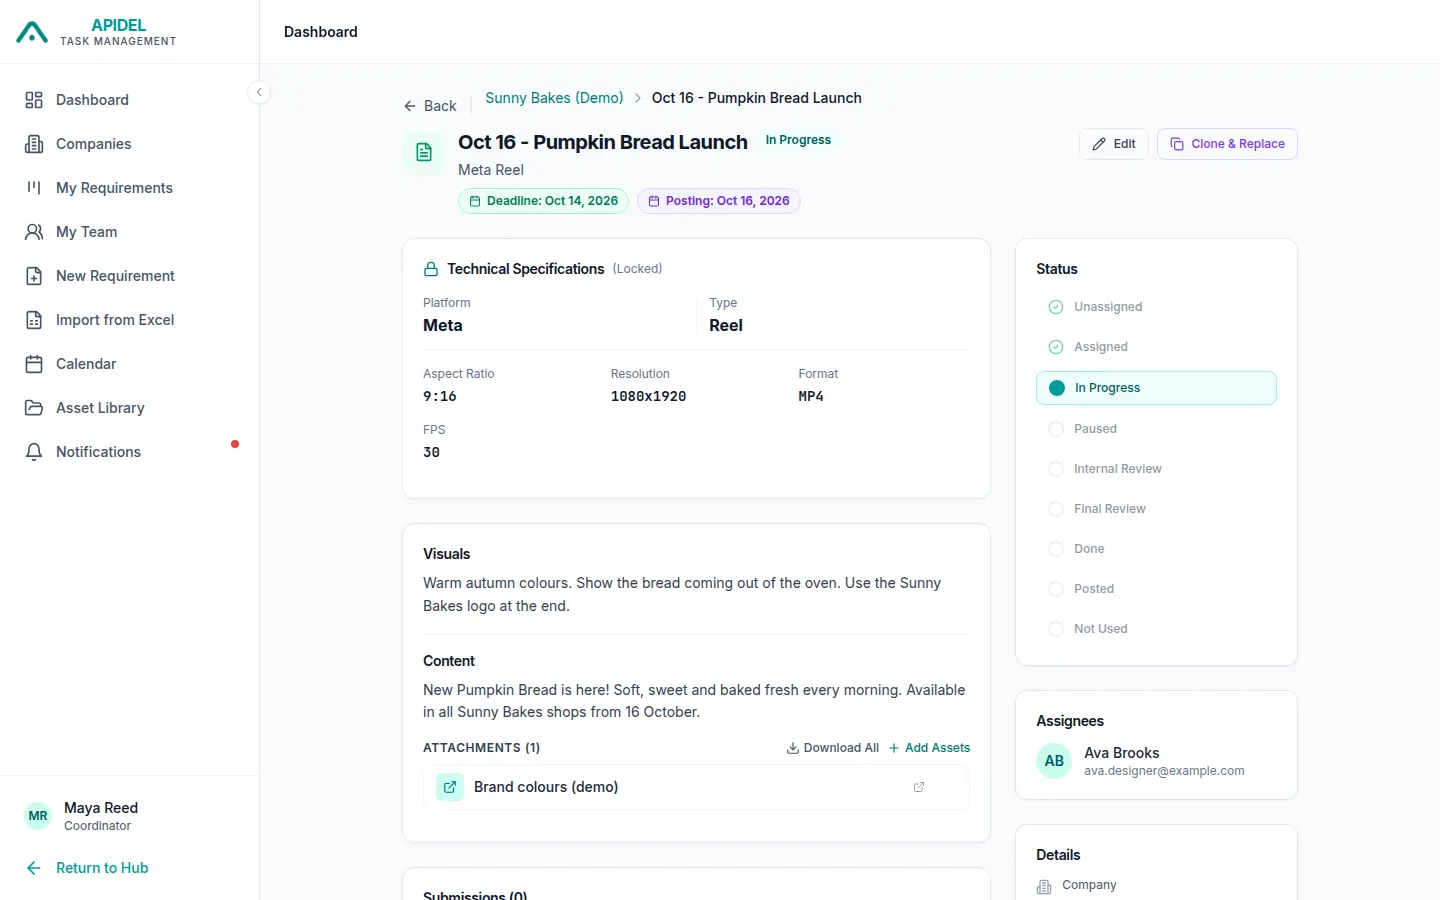
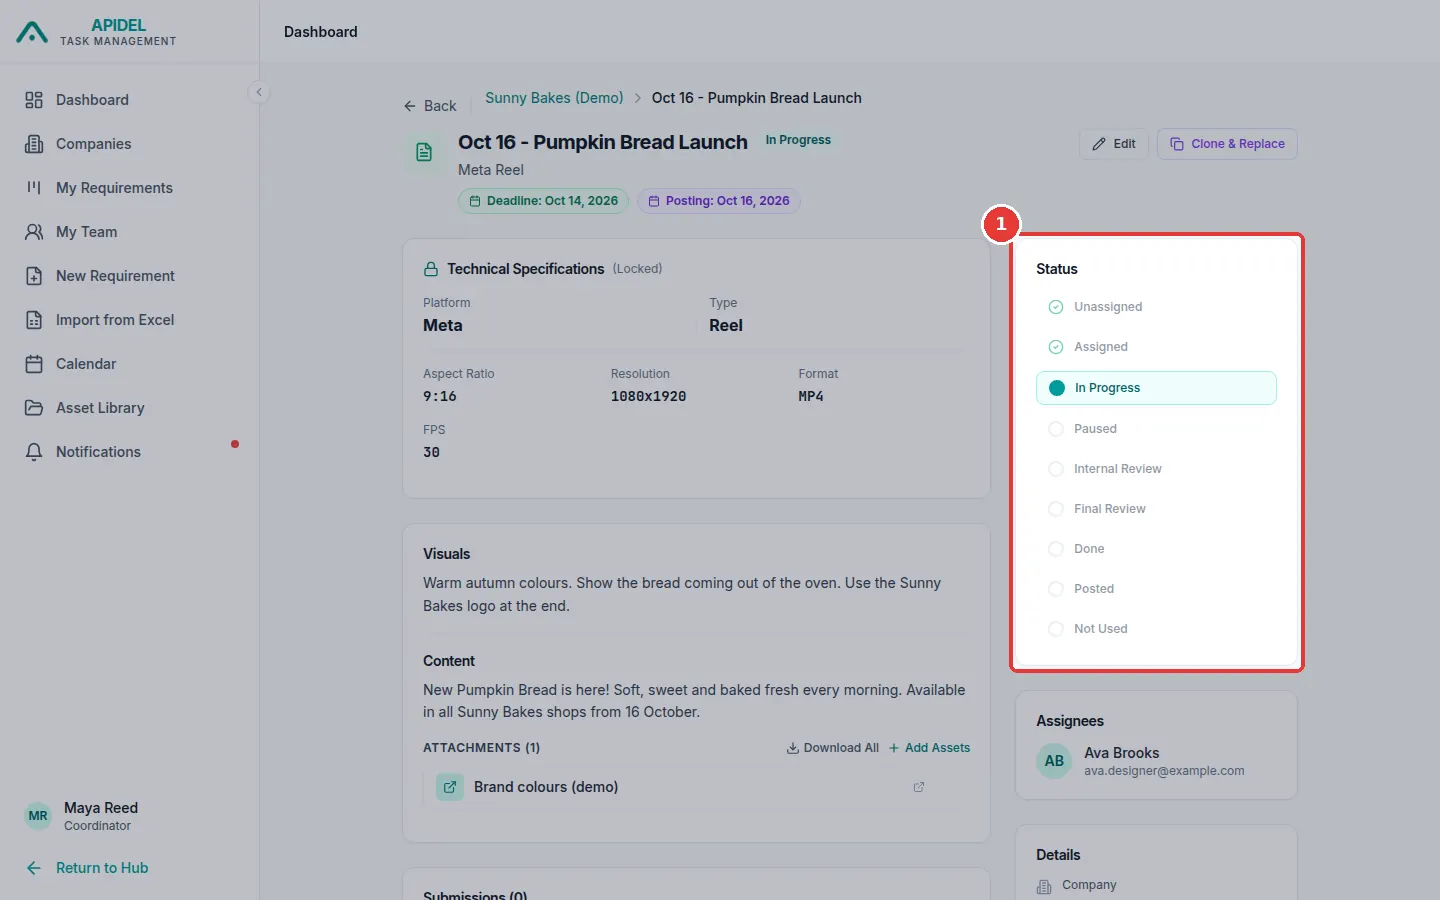
On the right side, the Status box shows every step. Ticked steps are finished. The current step is coloured.
Change the words or dates (Edit)
-
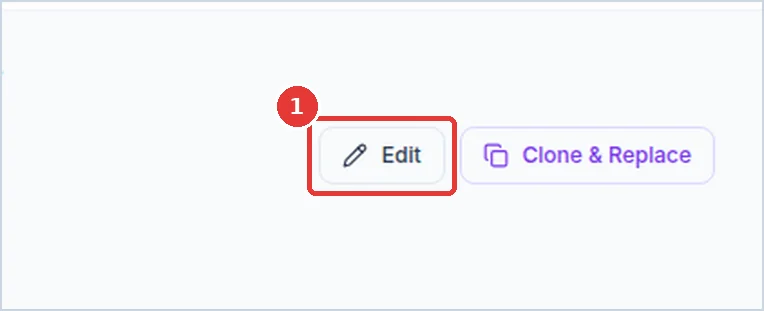
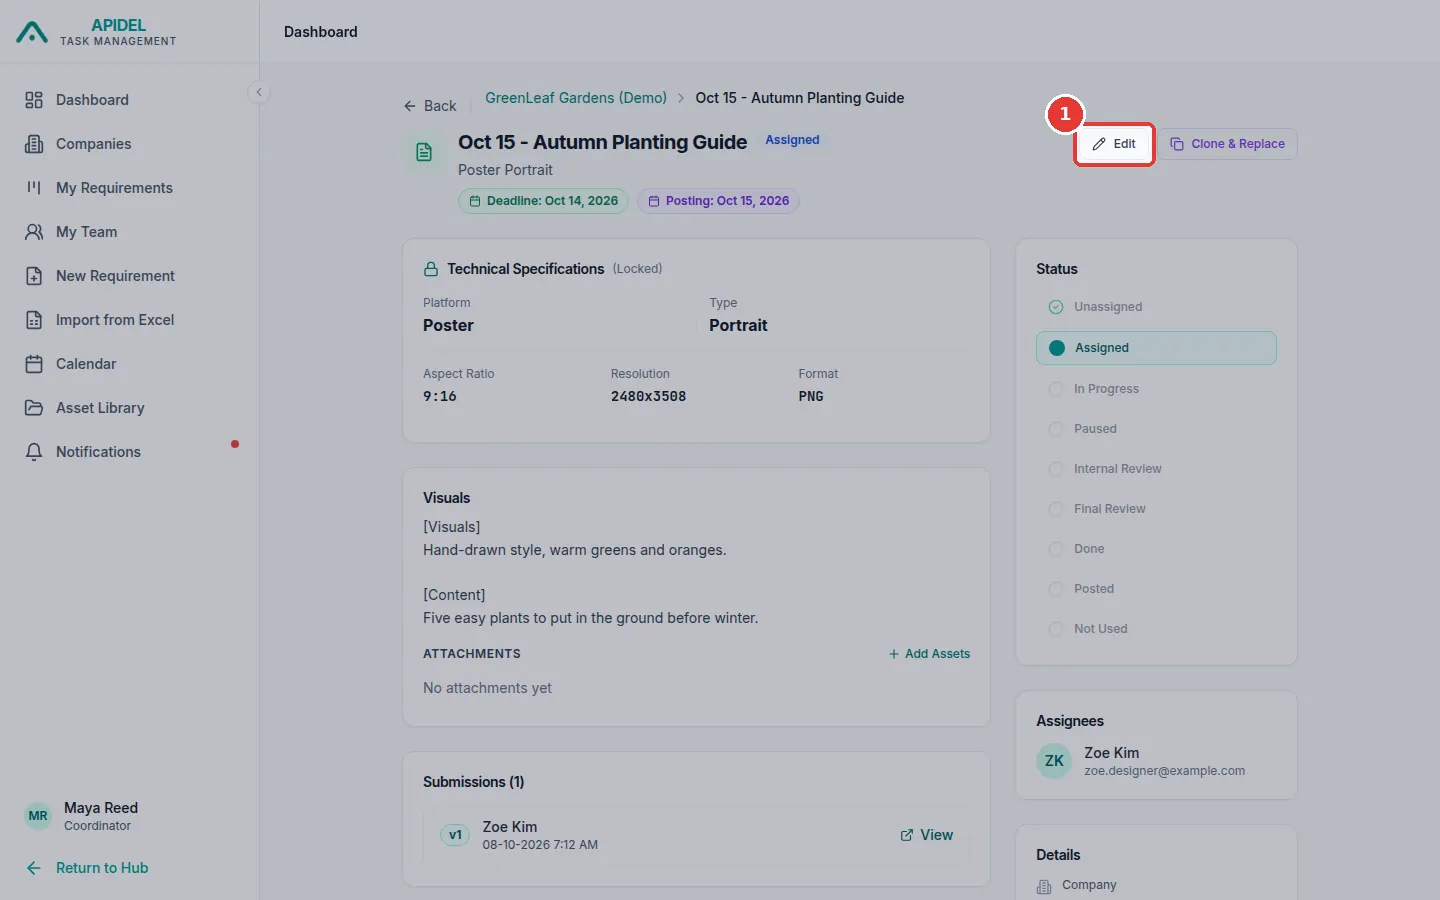
Open the requirement. Click Edit at the top.
-
The Edit Requirement page opens. It looks like the New Requirement form. Change what you need: title, visuals, content, captions, notes, links or dates.
-
Click Save Changes at the bottom.
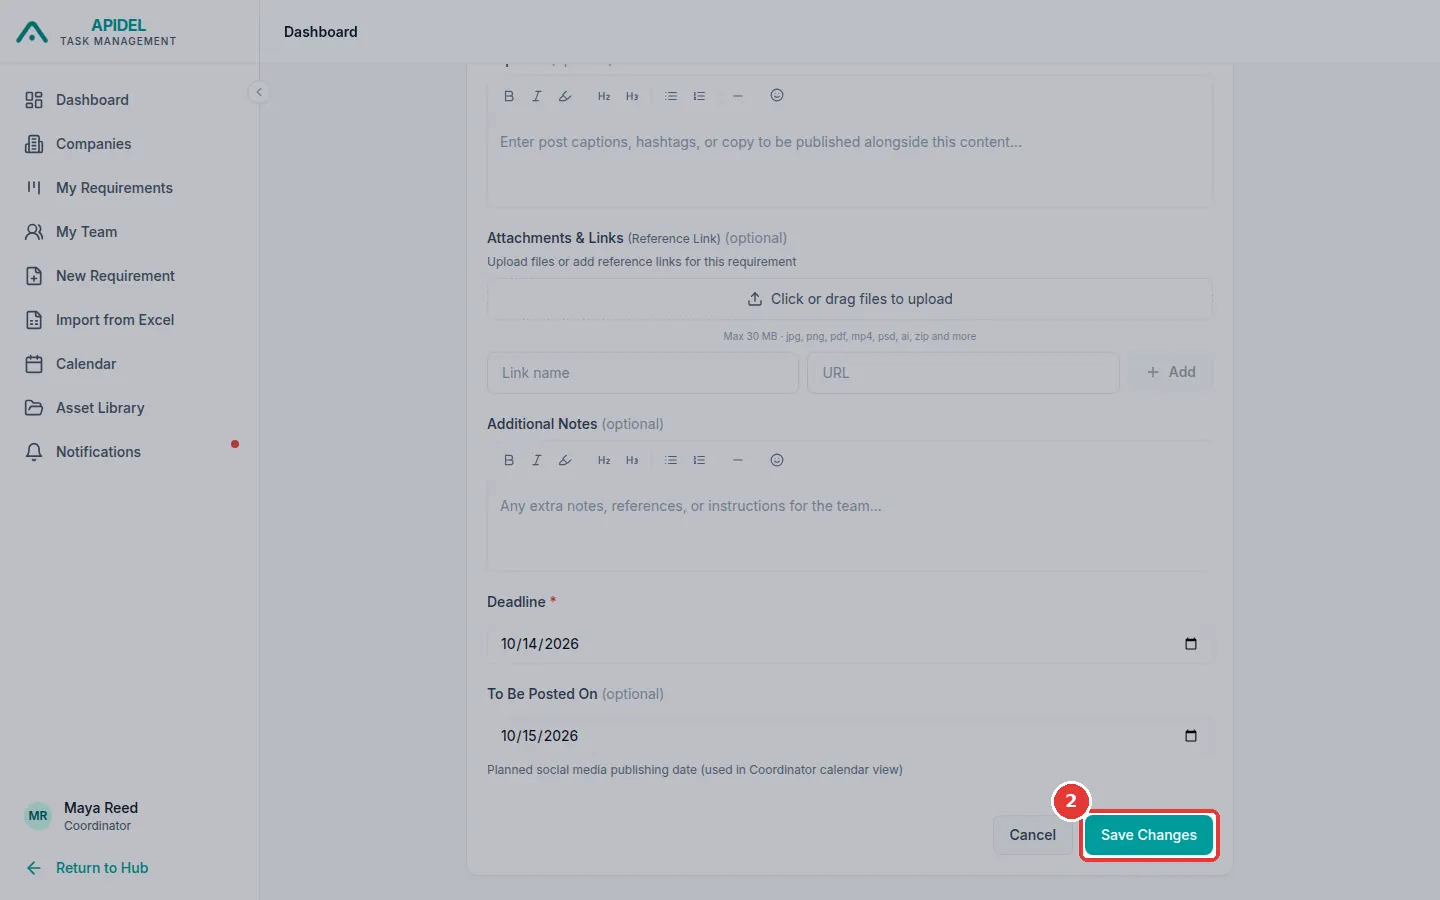
-
You will see Requirement updated.
Note
You can only edit requirements that you asked for yourself.
Add files or links later
-
Open the requirement. Find Attachments. Click Add Assets.
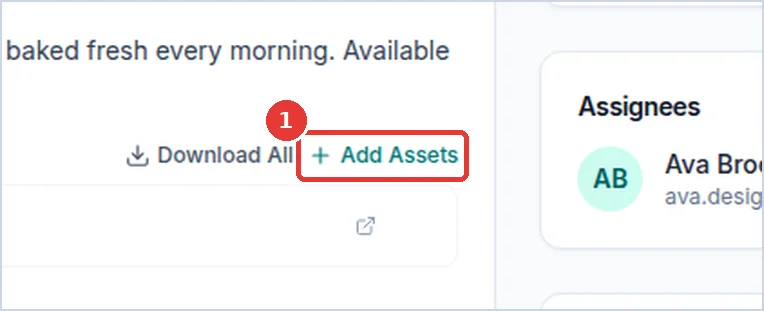
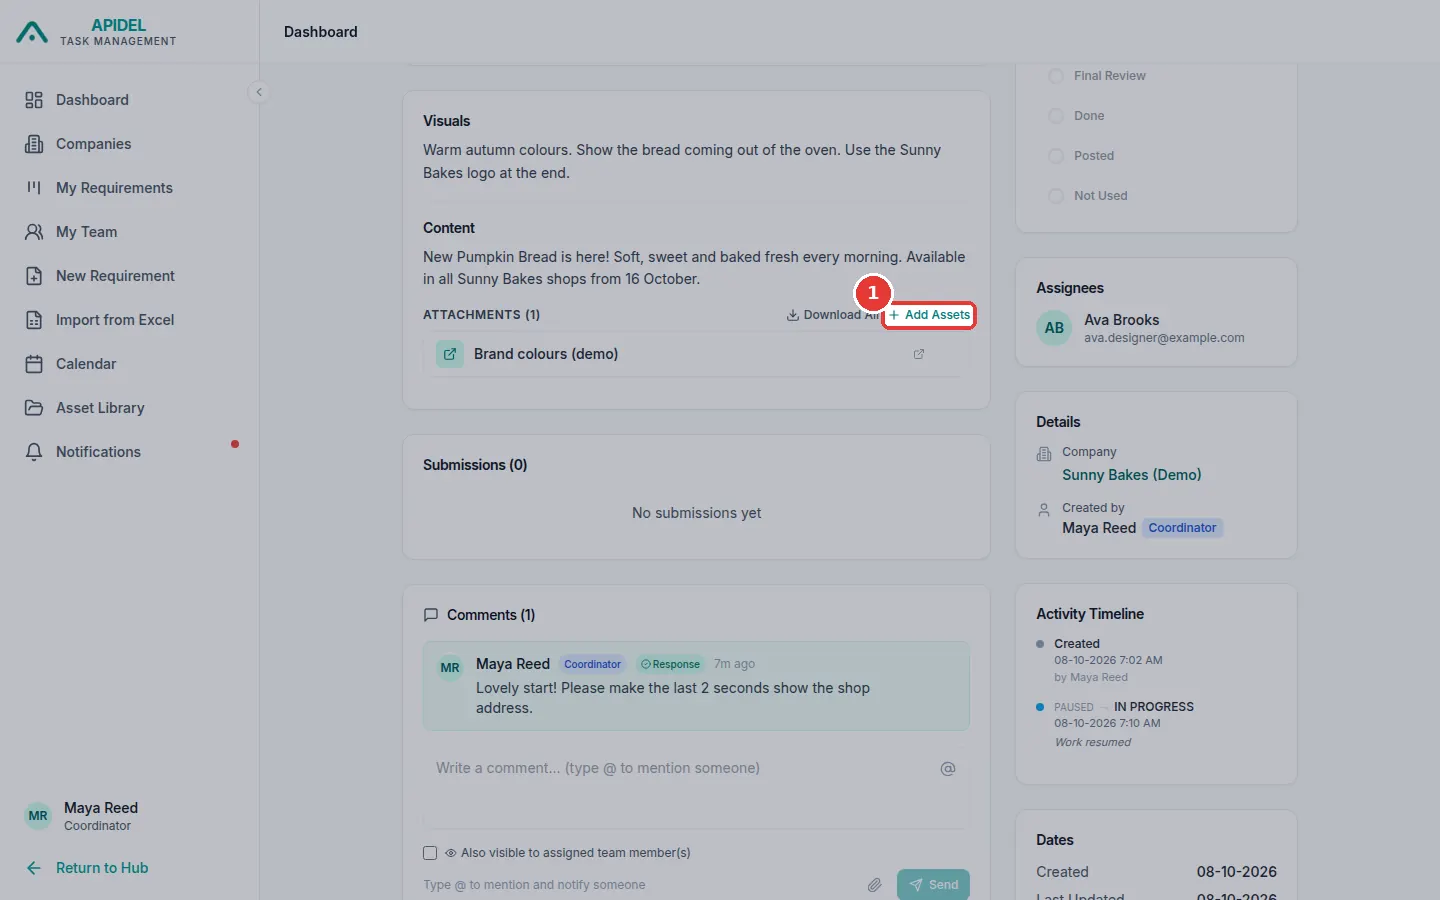
-
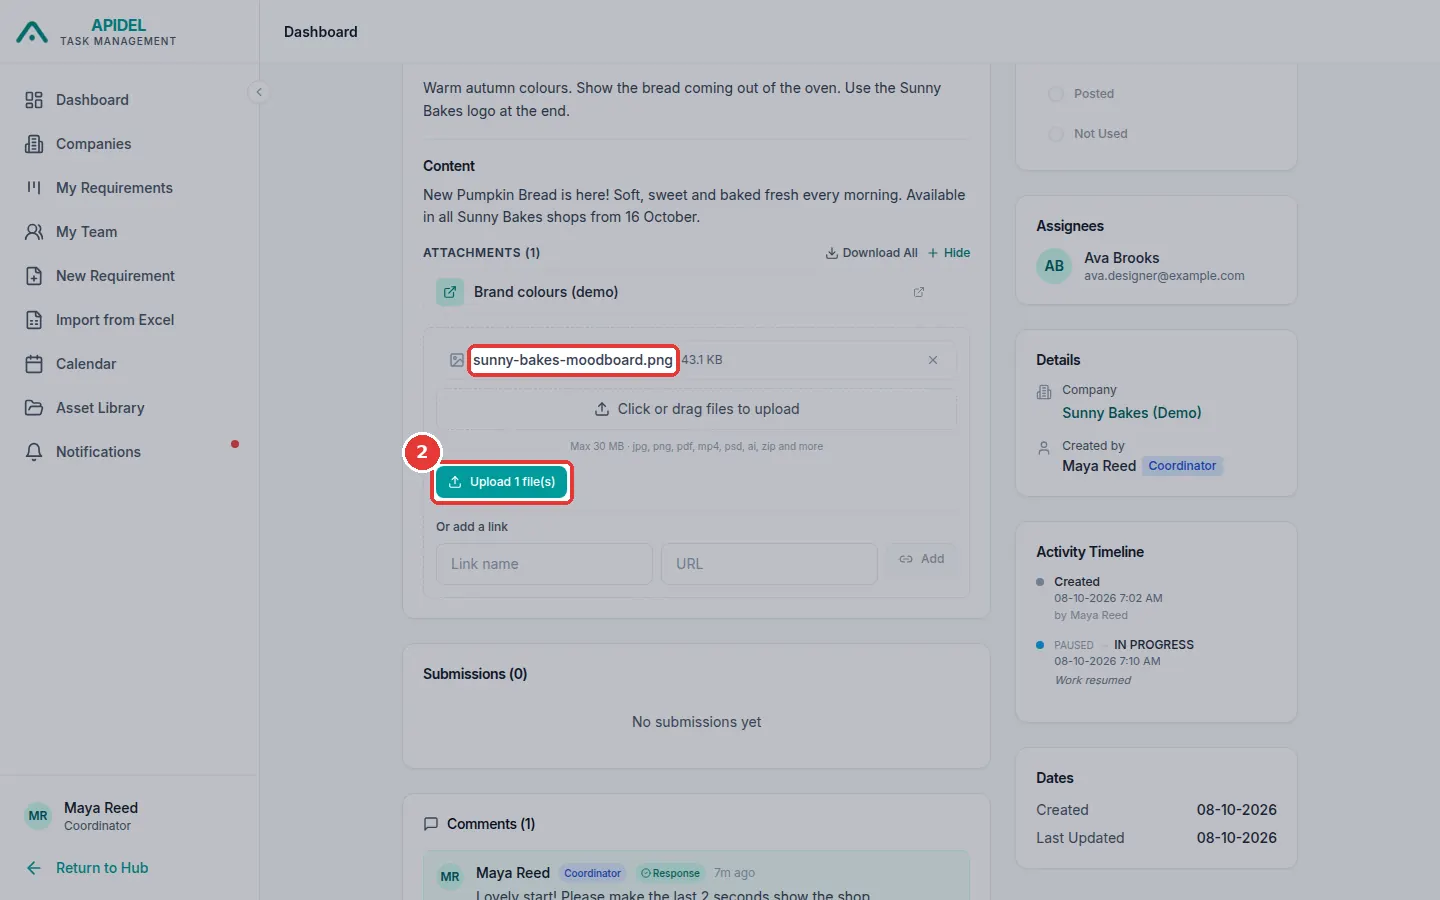
To add a file: click Click or drag files to upload, choose the file, then click Upload 1 file(s).
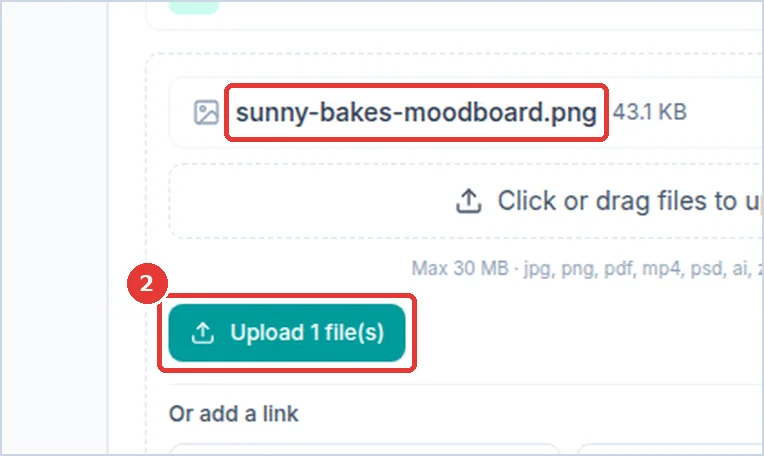
-
To add a link: under Or add a link, type a Link name, paste the URL, and click Add.
Files on the test website
On the test website, file uploads show Network Error. Add a link instead.
Start again from the beginning (Clone & Replace)
Use this when the brief has changed a lot after a designer started. The old requirement is deleted. A fresh copy starts again at Unassigned. The designer gets a message.
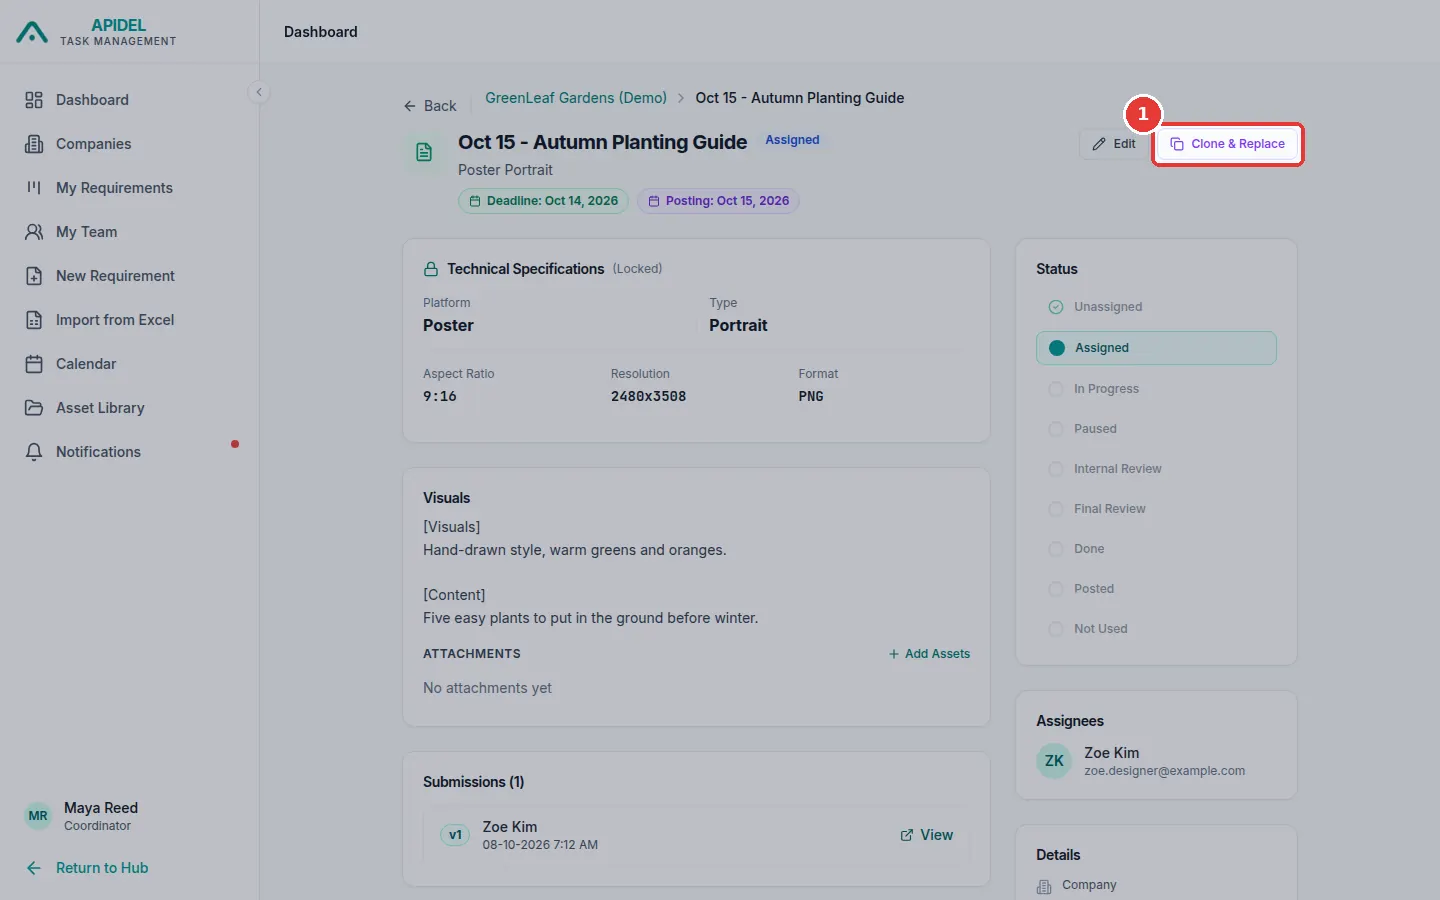
This button shows only when the work is Assigned or In Progress.
-
Open the requirement. Click Clone & Replace at the top.
-
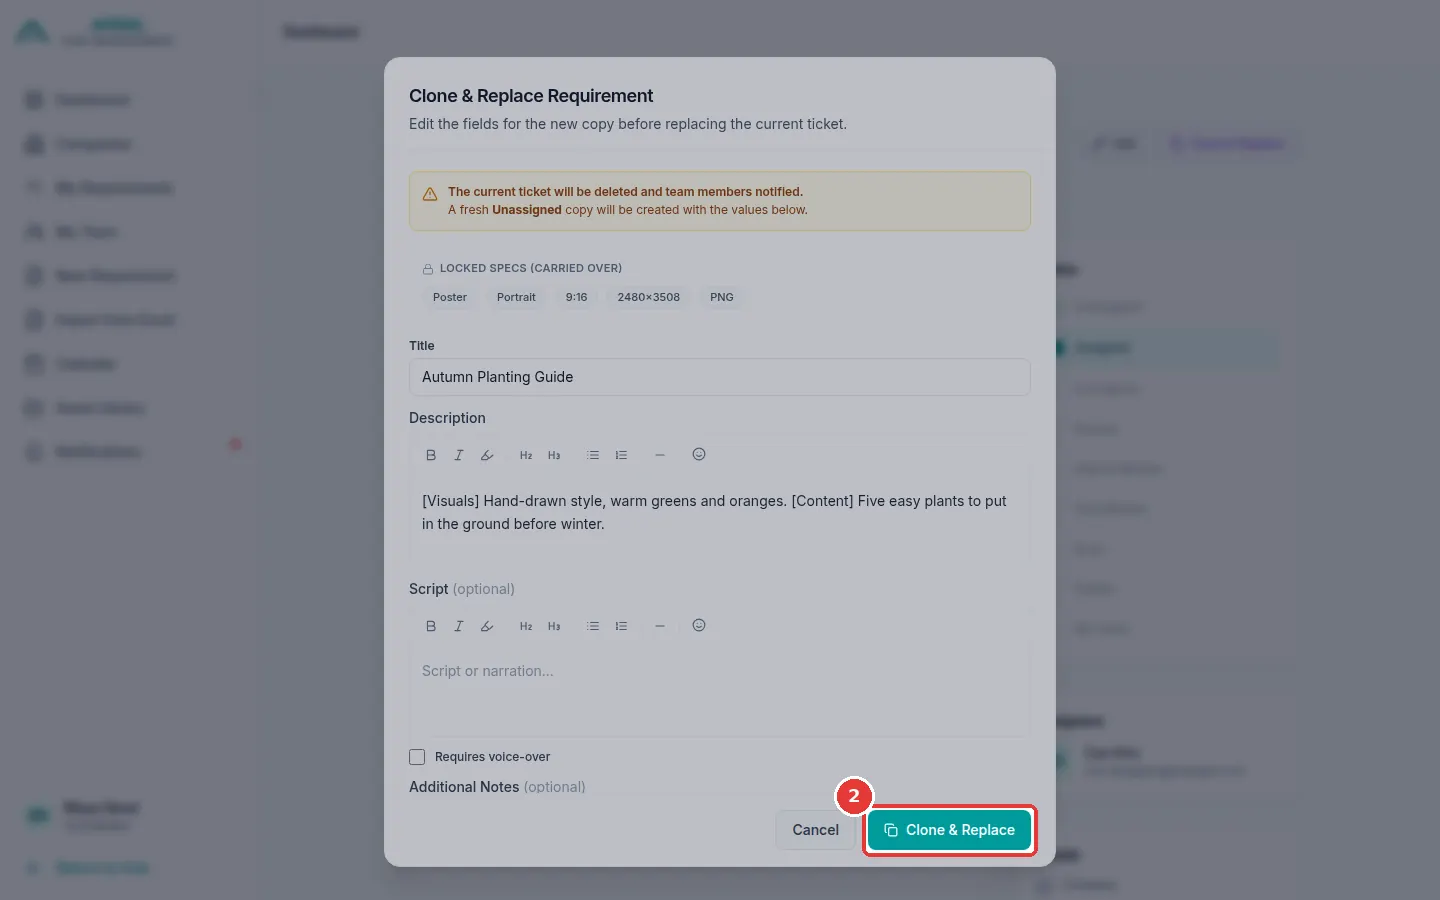
A window opens. Change the title, description, dates or notes for the new copy.
-
Click Clone & Replace at the bottom of the window.
Warning
The old requirement and its history are removed. Only use this if you really need to start again. To ask for small changes, wait until the work comes to you and use Request Revision.