New requirement (ask for a design)
A requirement is one piece of design work you ask for. For example: one Instagram Reel for the new Pumpkin Bread.
If you choose more than one platform or type, the system makes one requirement for each one. For example, a Reel and a Post become 2 requirements.
Before you start
Have these ready:
- a short title, for example "Pumpkin Bread Launch"
- where the design will be used (platform), for example Meta (Facebook and Instagram)
- what kind of design you need (type), for example a Reel or a Post
- the words that should be in the design (content)
- the last day it must be ready (deadline)
Fill in the form
-
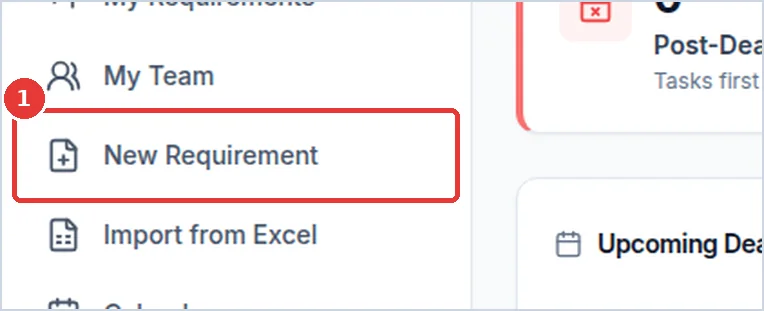
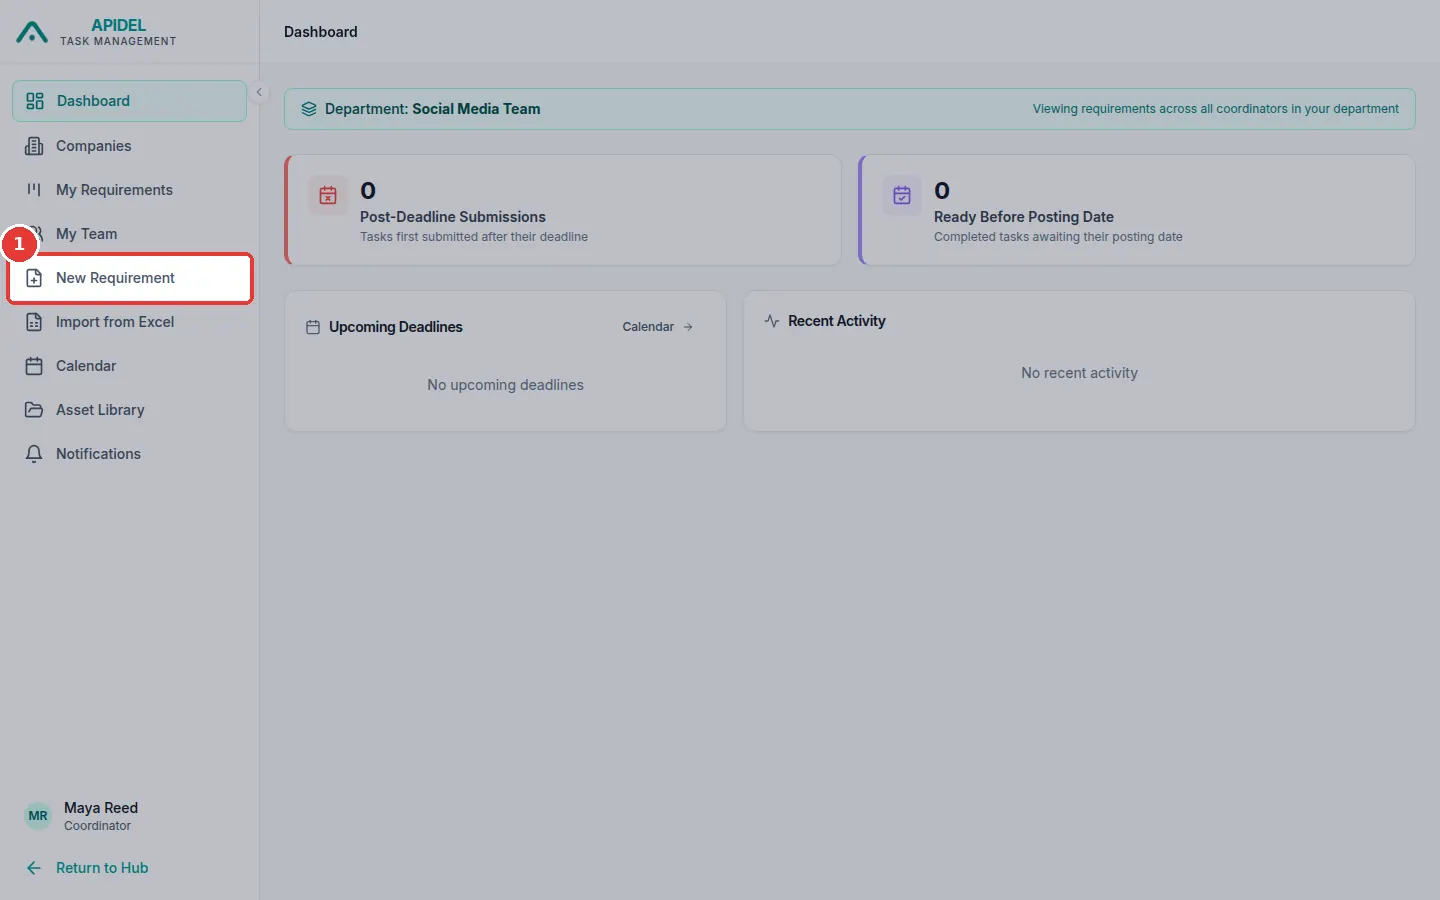
Click New Requirement in the menu on the left.
-
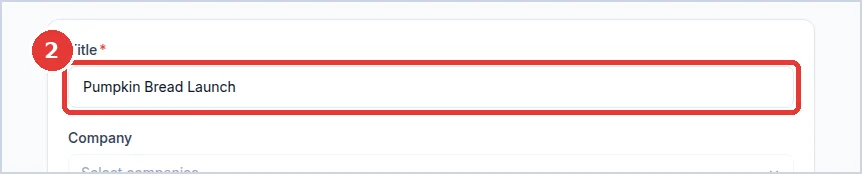
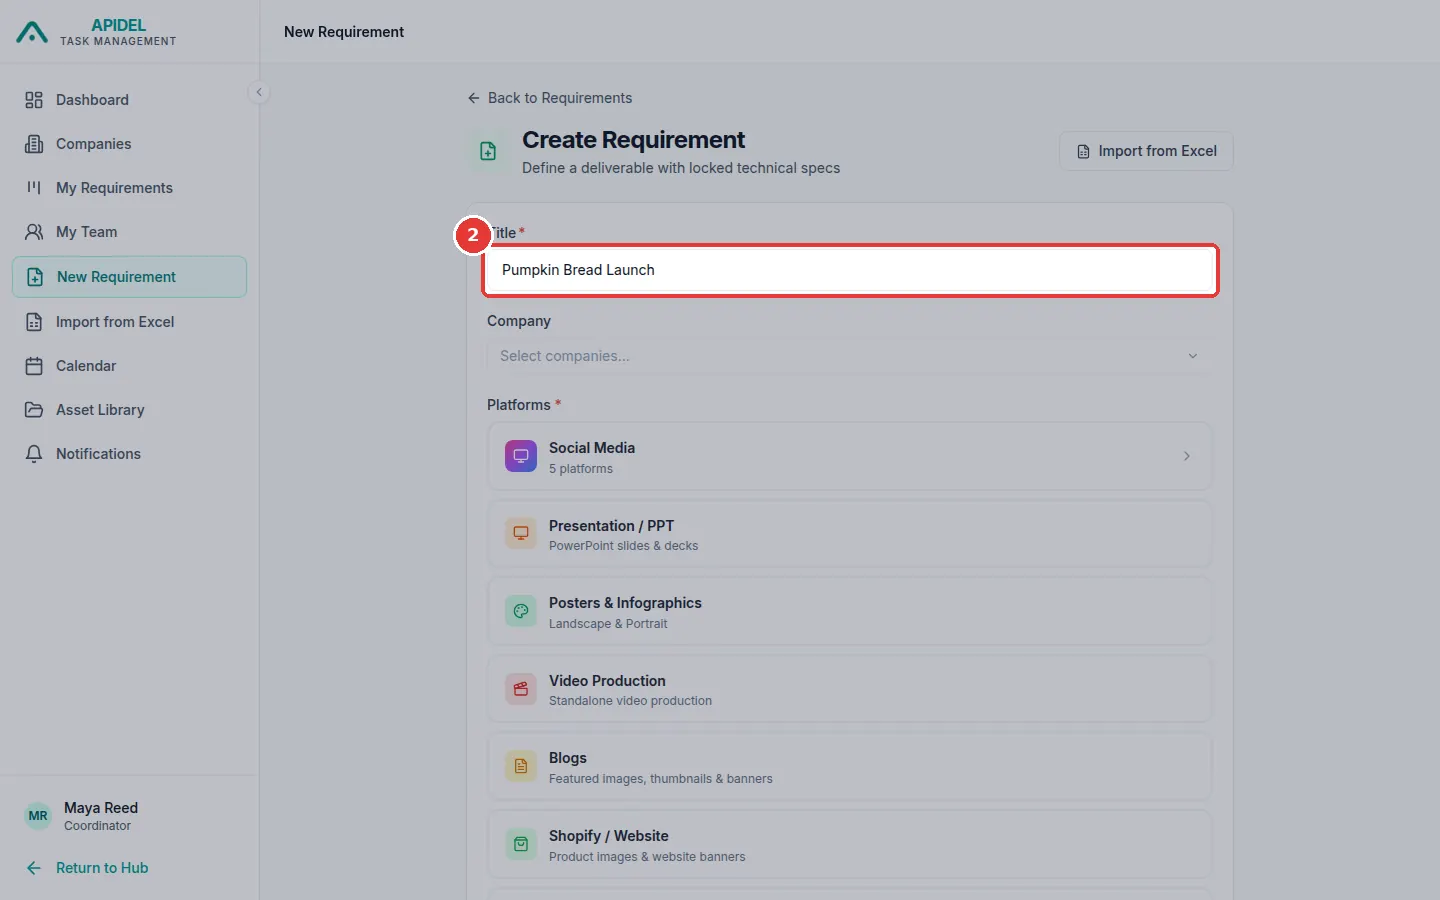
Click the Title box. Type a short name for the work.
-
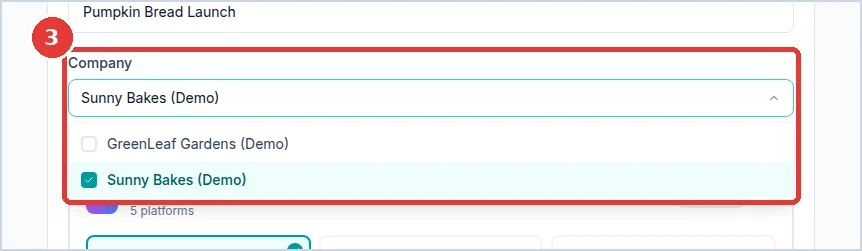
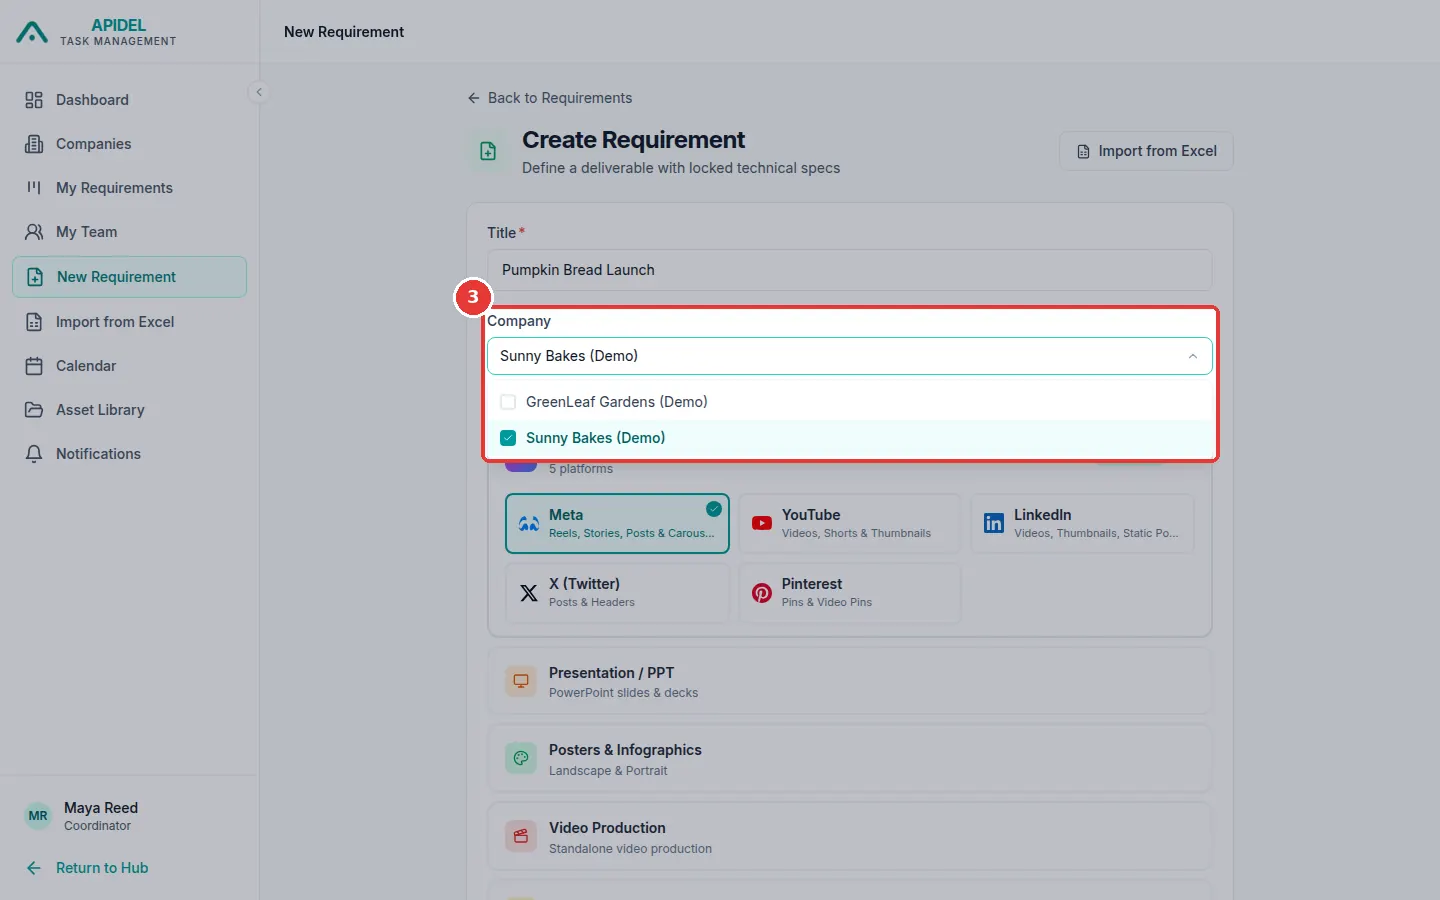
Click the Company box. A list opens. Tick the company the work is for.
-
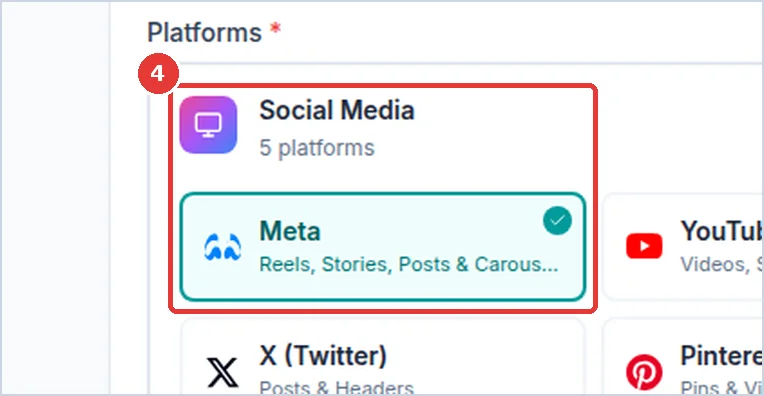
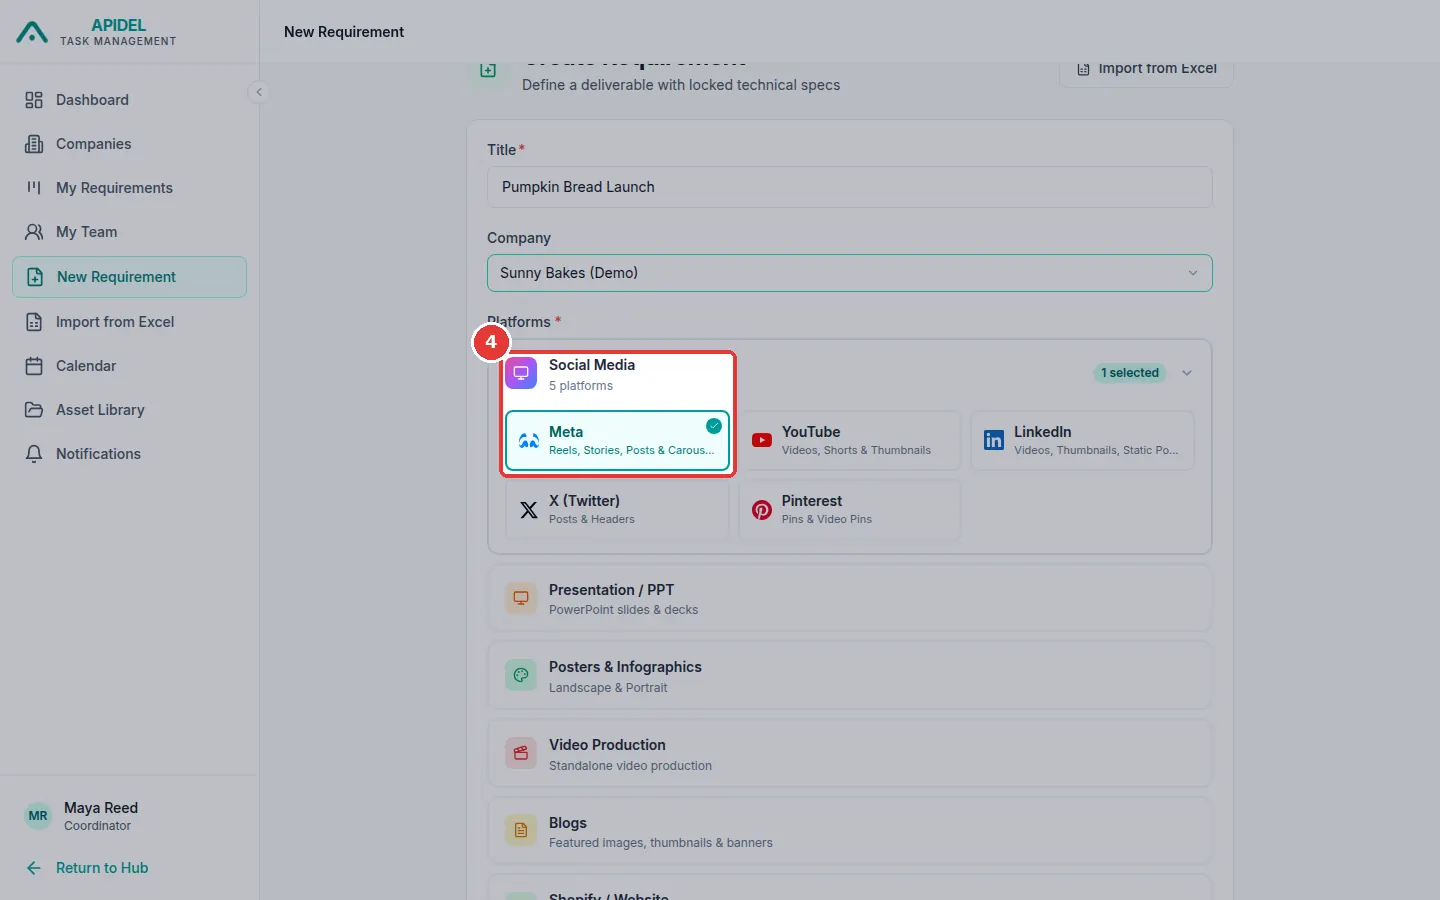
Under Platforms, click where the design will be used. For Facebook, Instagram, YouTube, LinkedIn, X or Pinterest, first click Social Media. Then click the platform, for example Meta. A green tick shows it is chosen.
-
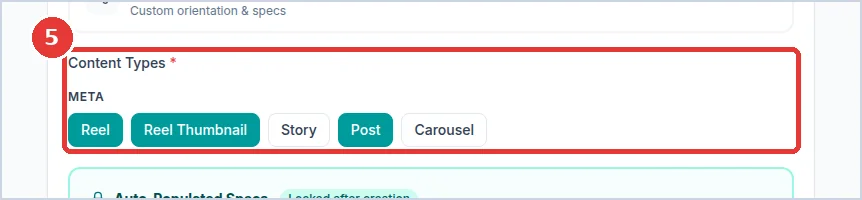
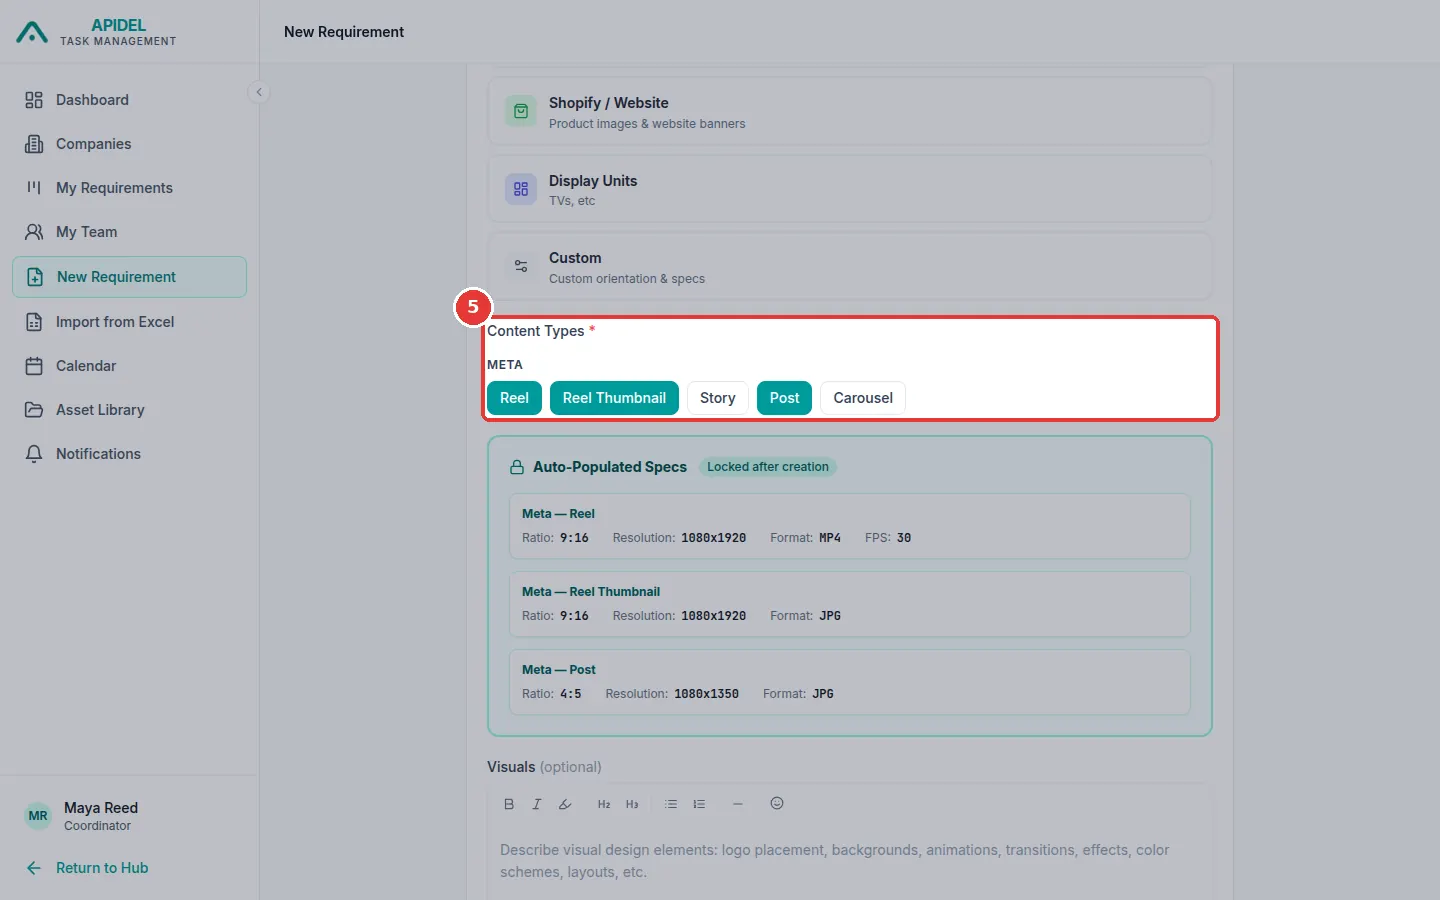
Under Content Types, click each kind of design you need. For example Reel and Post. Chosen types turn green.
Tip
When you choose a video, like a Reel, the system also adds its small cover picture (Reel Thumbnail) for you.
-
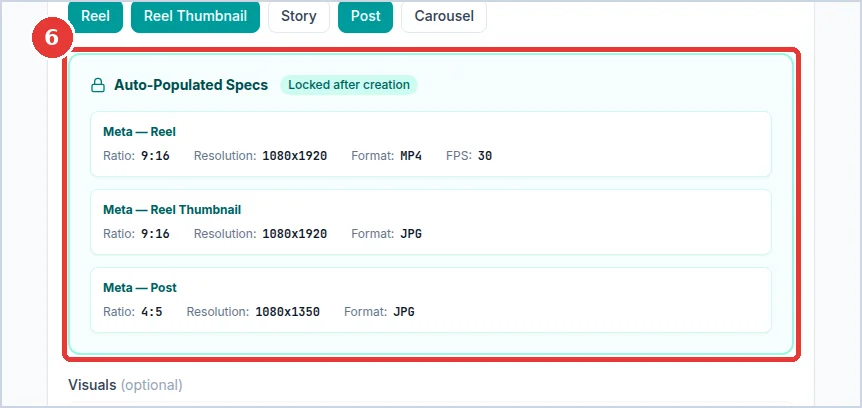
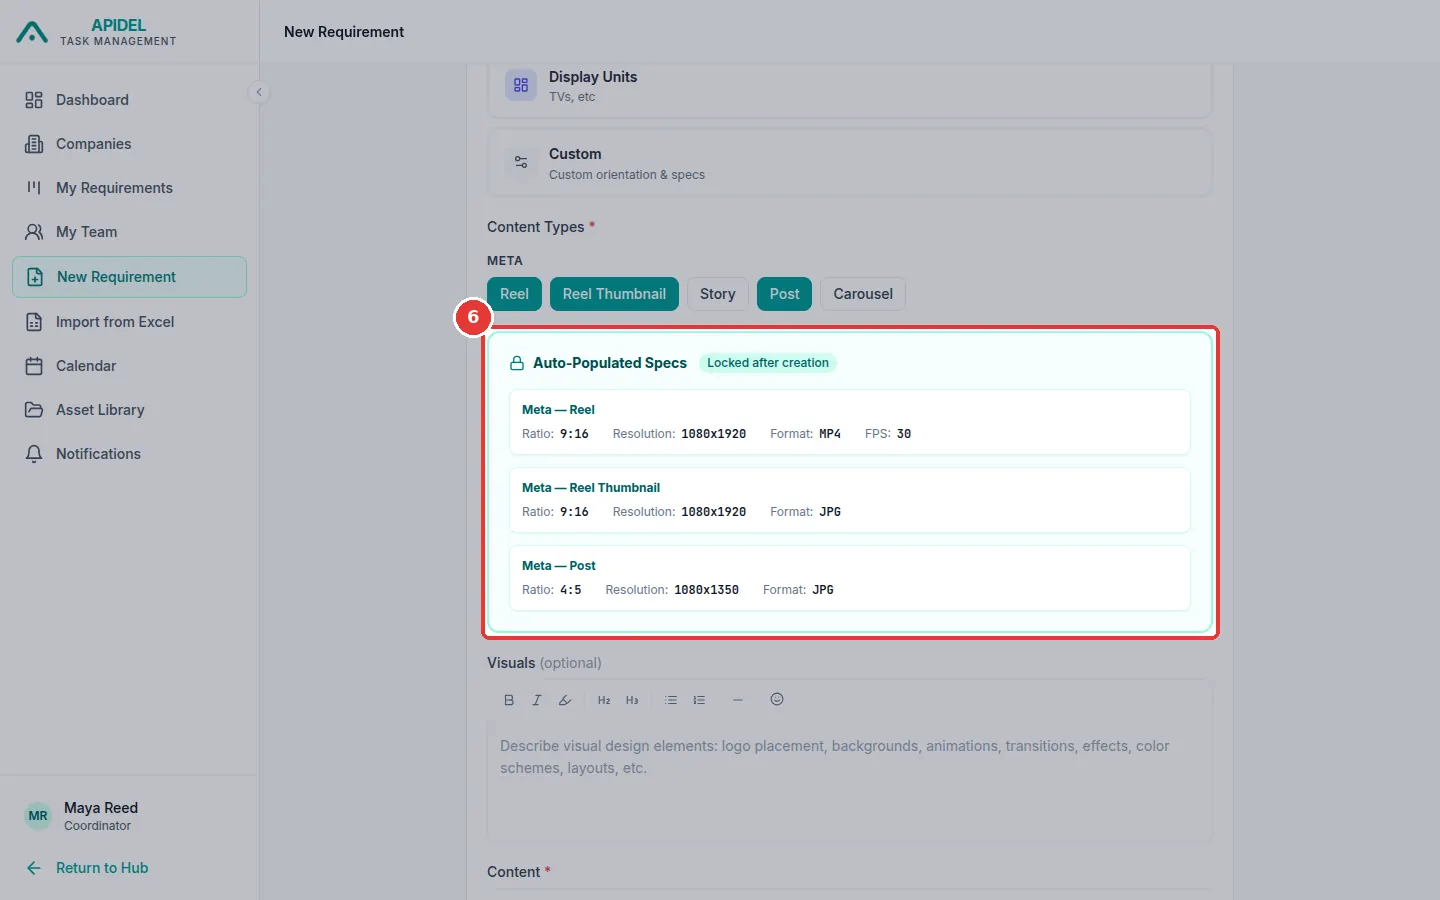
Look at the Auto-Populated Specs box. It shows the size and file kind for each design. You do not need to type anything here. These cannot be changed after you create the requirement.
-
Click the Visuals box. Describe how the design should look (this is optional). Then click the Content box. Type the words and message for the design. Content must be filled in.
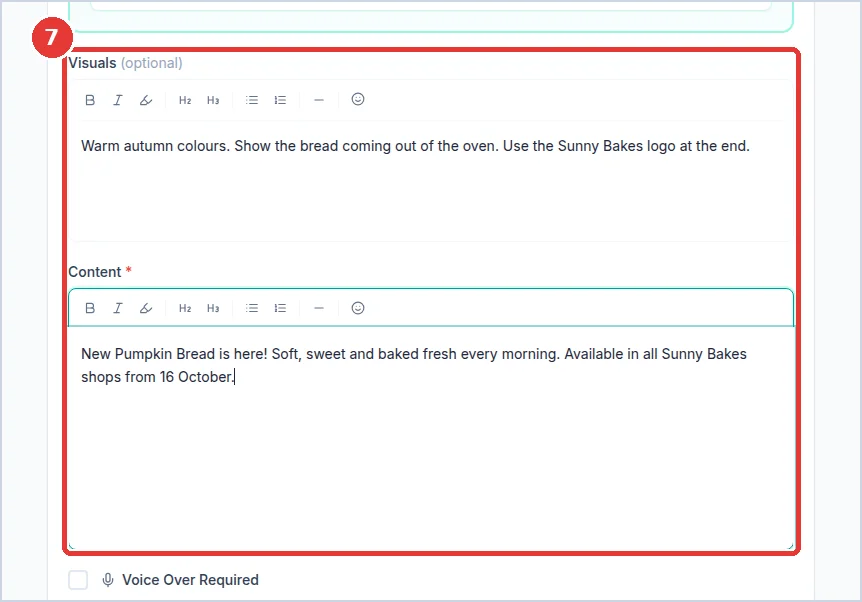
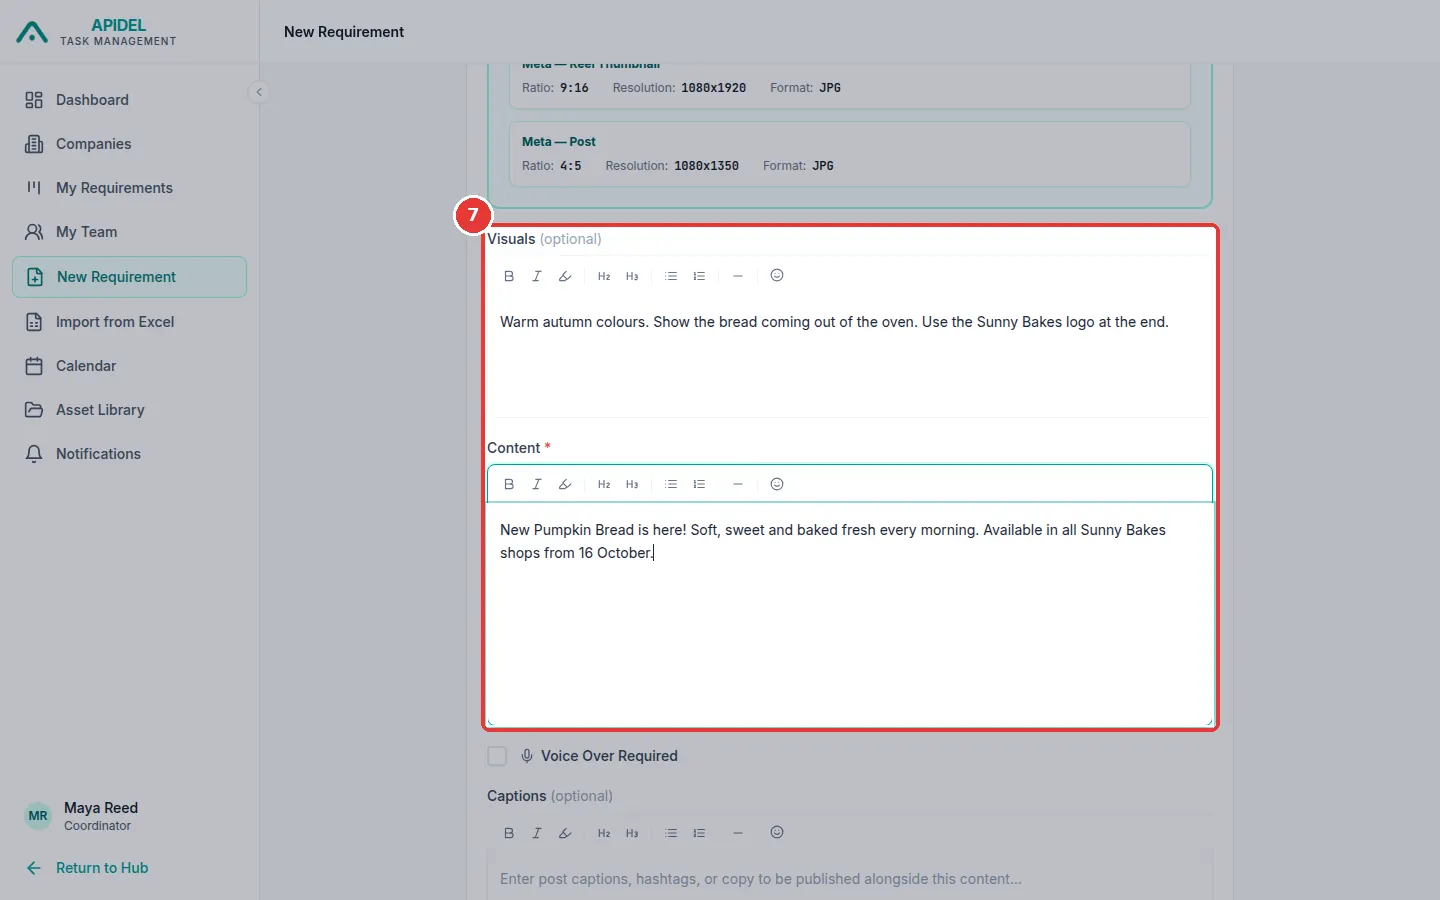
- If the design needs a spoken voice, tick Voice Over Required and type the words in the box that appears.
- Type the text to post with the design in Captions (optional).
-
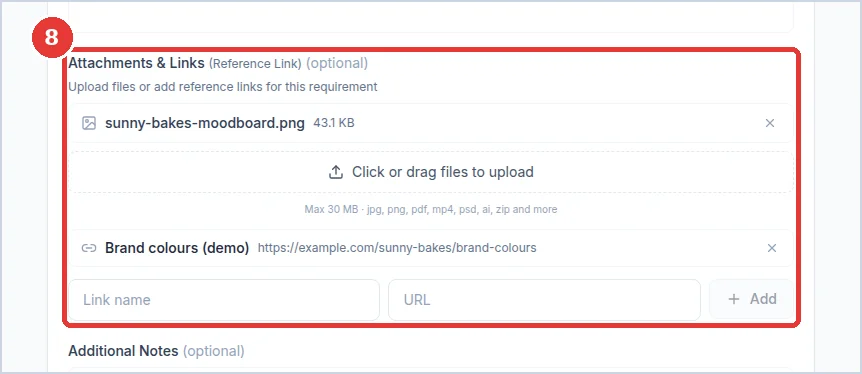
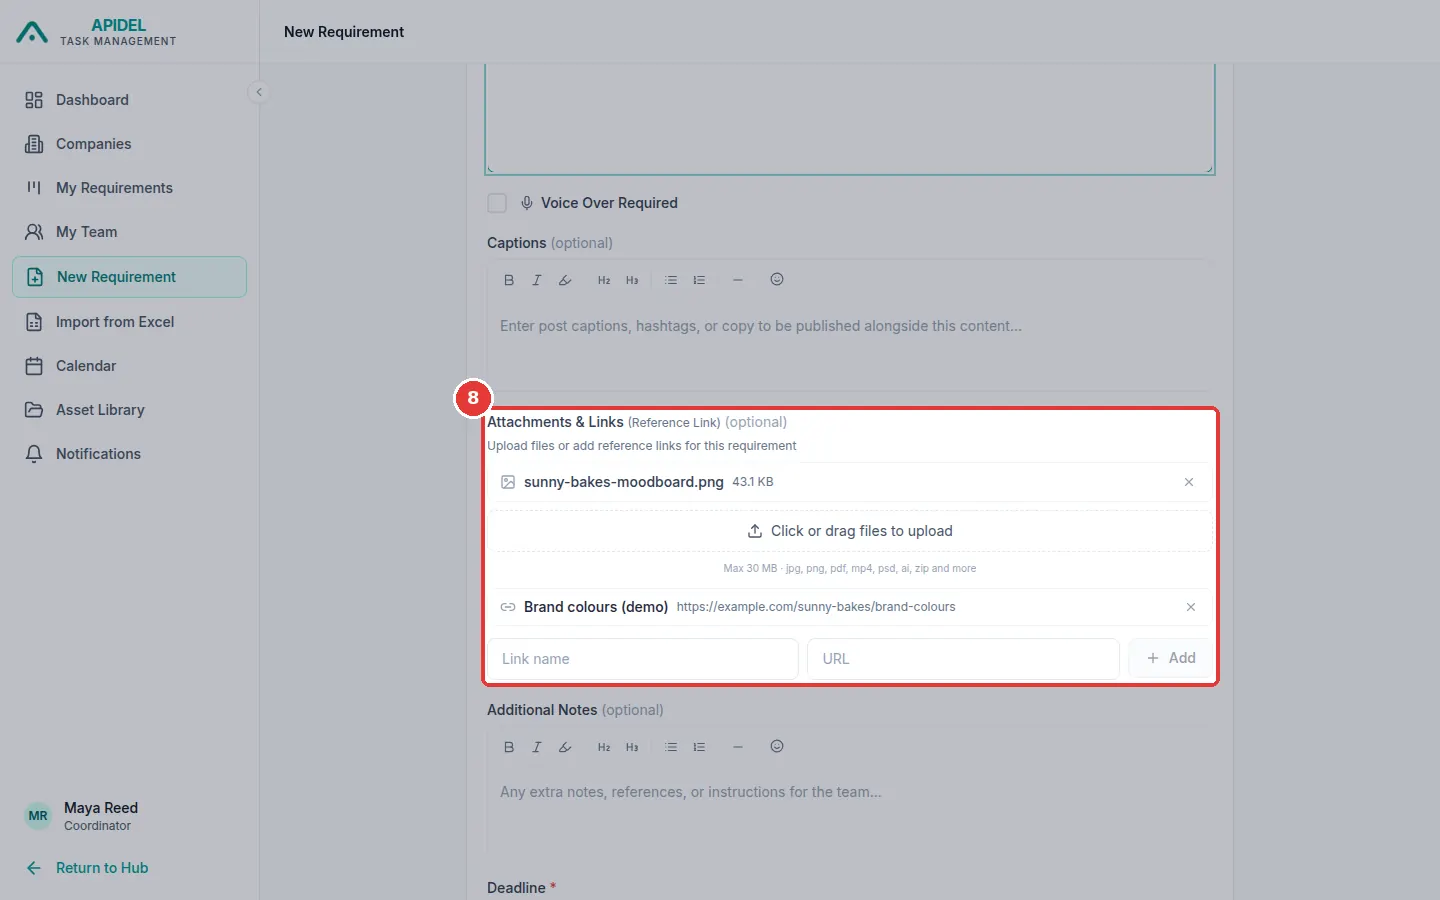
To help the designer, add files or links under Attachments & Links. This is optional.
- To add a file (for example a logo), click Click or drag files to upload and choose the file. Files can be up to 30 MB.
- To add a link, type a name in Link name, paste the web address in URL, and click Add.
-
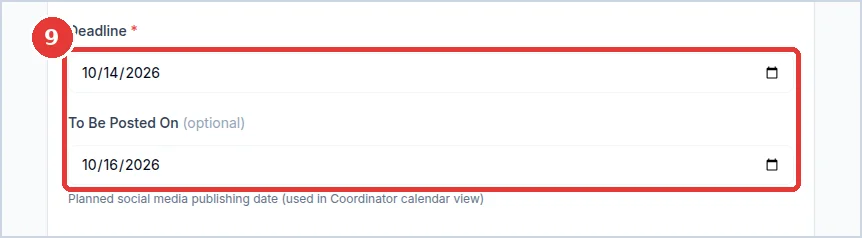
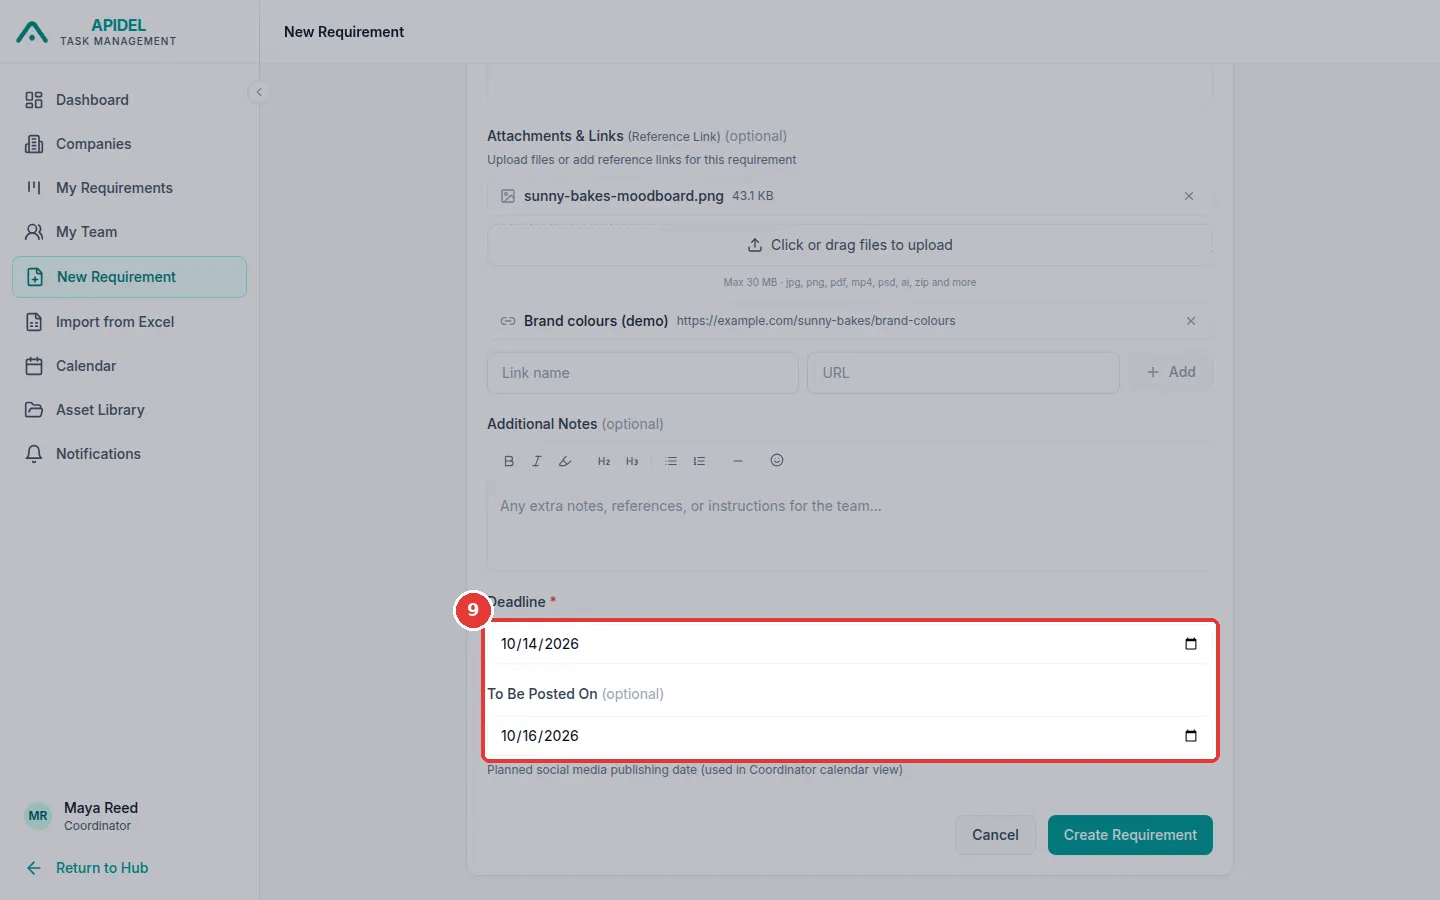
Click the Deadline box and choose the last day the design must be ready. You can also choose the day it will go on social media in To Be Posted On.
-
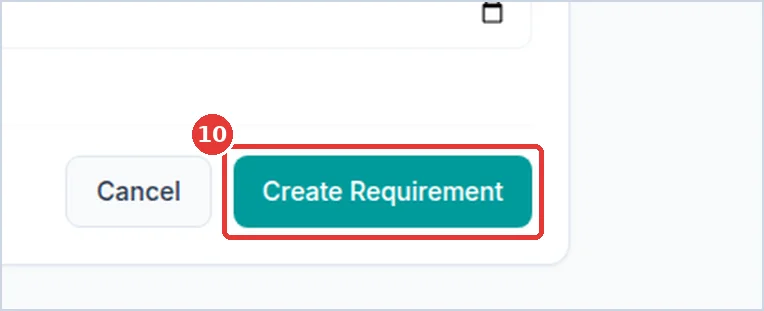
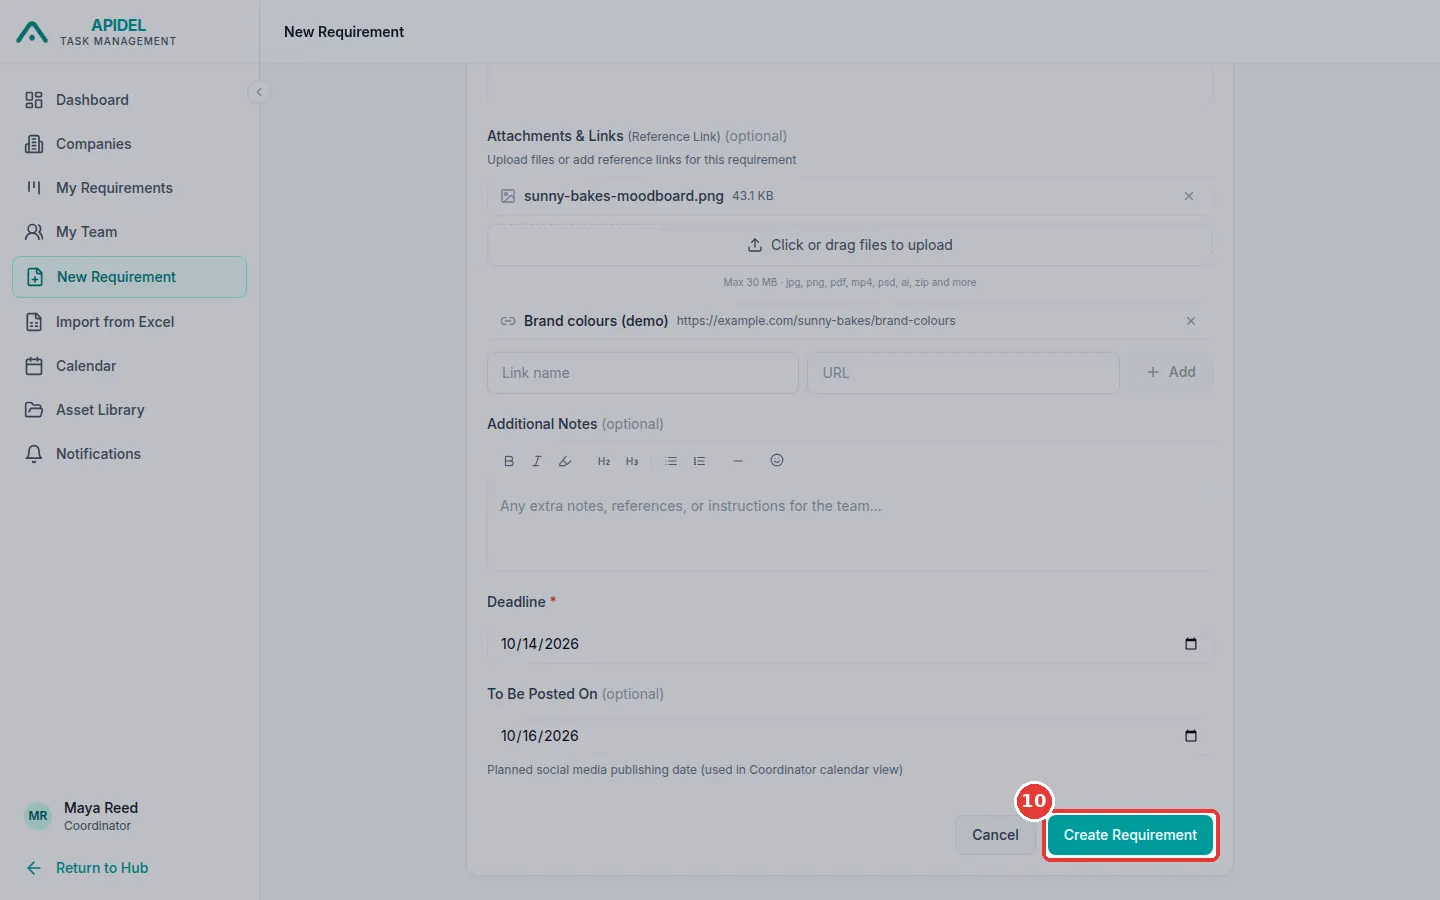
Click the green Create Requirement button at the bottom.
-
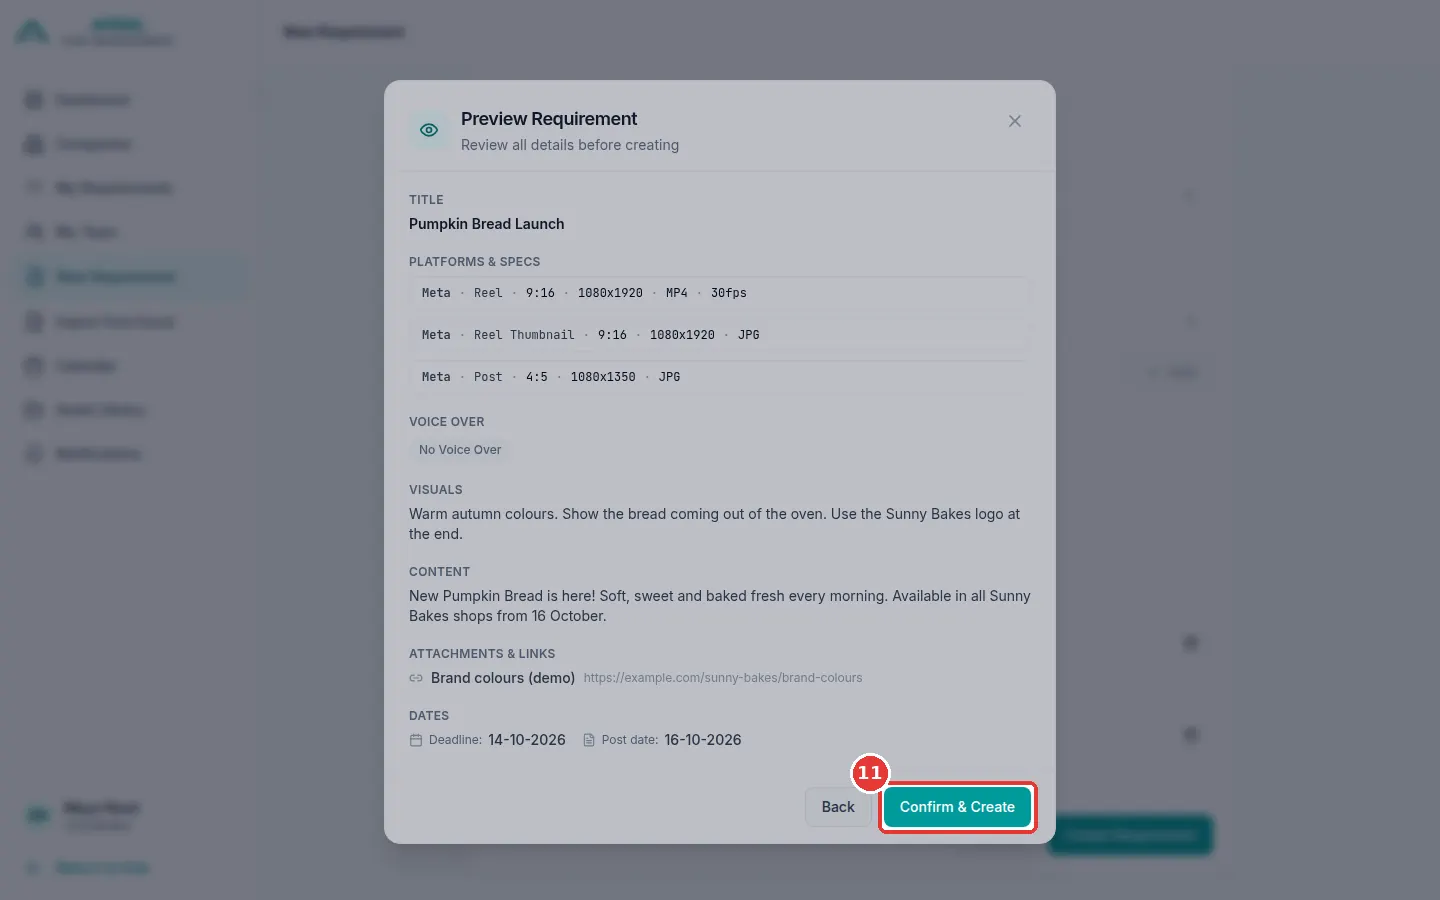
A window shows everything you typed. Check it. If something is wrong, click Back and fix it. If all is good, click Confirm & Create.
-
Done! The system opens your My Requirements board. Your new work is in the Unassigned column. The Graphics Team Lead will give it to a designer.
If you see a red message
A red message under a box means something is missing. For example:
- Title is required: type a title.
- Select at least one platform: click a platform card.
- Select at least one content type: click a type.
- Content is required: type in the Content box.
- Deadline is required: choose a deadline.
- Deadline cannot be in the past: choose today or a later day.
Files on the test website
On the test website, adding files does not work yet. The requirement is still made, but the file is not saved. Add a link instead.