New requirement and Excel import
You can ask the design team for new work, the same way coordinators do.
Ask for one design (New Requirement)
-
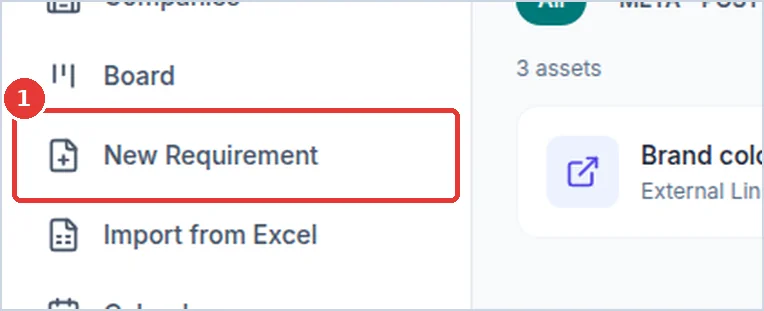
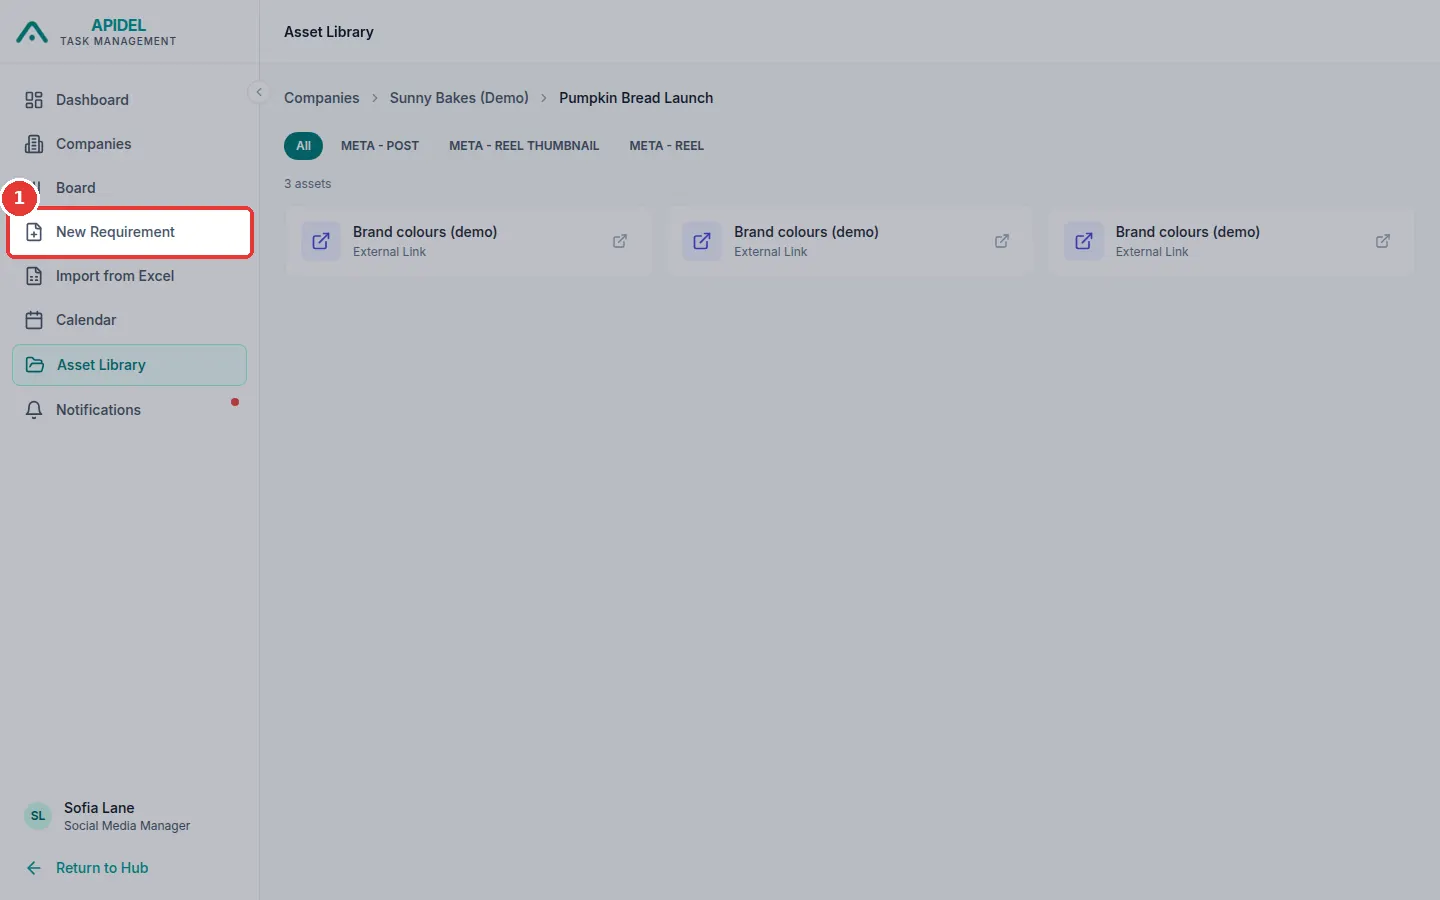
Click New Requirement in the menu on the left.
-
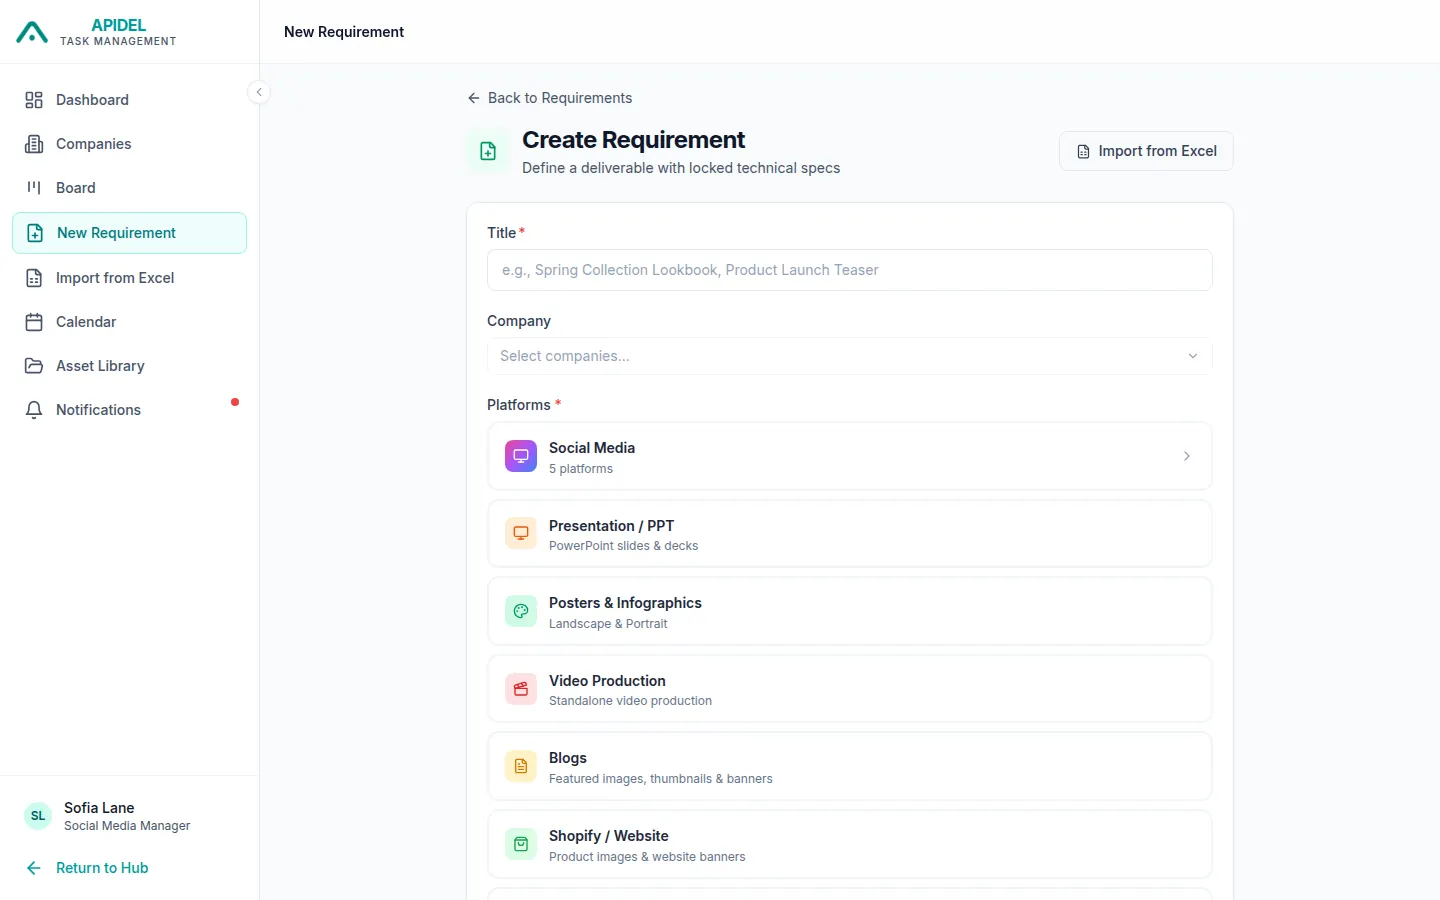
The Create Requirement form opens.
-
Fill in the form from top to bottom:
- Title: a short name for the work.
- Company: click the box and tick the company.
- Platforms: click where the design will be used. For Facebook, Instagram, YouTube, LinkedIn, X or Pinterest, click Social Media first, then the platform.
- Content Types: click each kind of design you need, for example Reel or Post.
- Auto-Populated Specs: just check them. The system fills in the size and file kind.
- Visuals (optional): how it should look.
- Content (must fill in): the words and message.
- Captions (optional): the text to post with the design.
- Attachments & Links (optional): add a file, or type a Link name and URL and click Add.
- Deadline (must fill in): the last day. To Be Posted On (optional): the posting day.
- Click Create Requirement at the bottom.
- A window shows everything. Check it, then click Confirm & Create.
- Your new work appears on the Board as Unassigned.
Tip
One requirement is made for each type you chose. A Reel and a Post become 2 requirements.
Ask for many designs at once (Import from Excel)
-
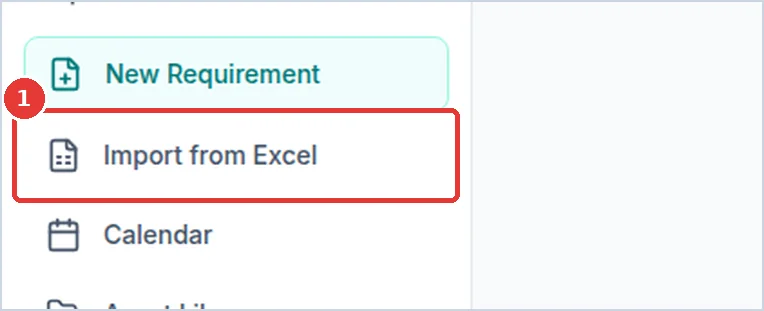
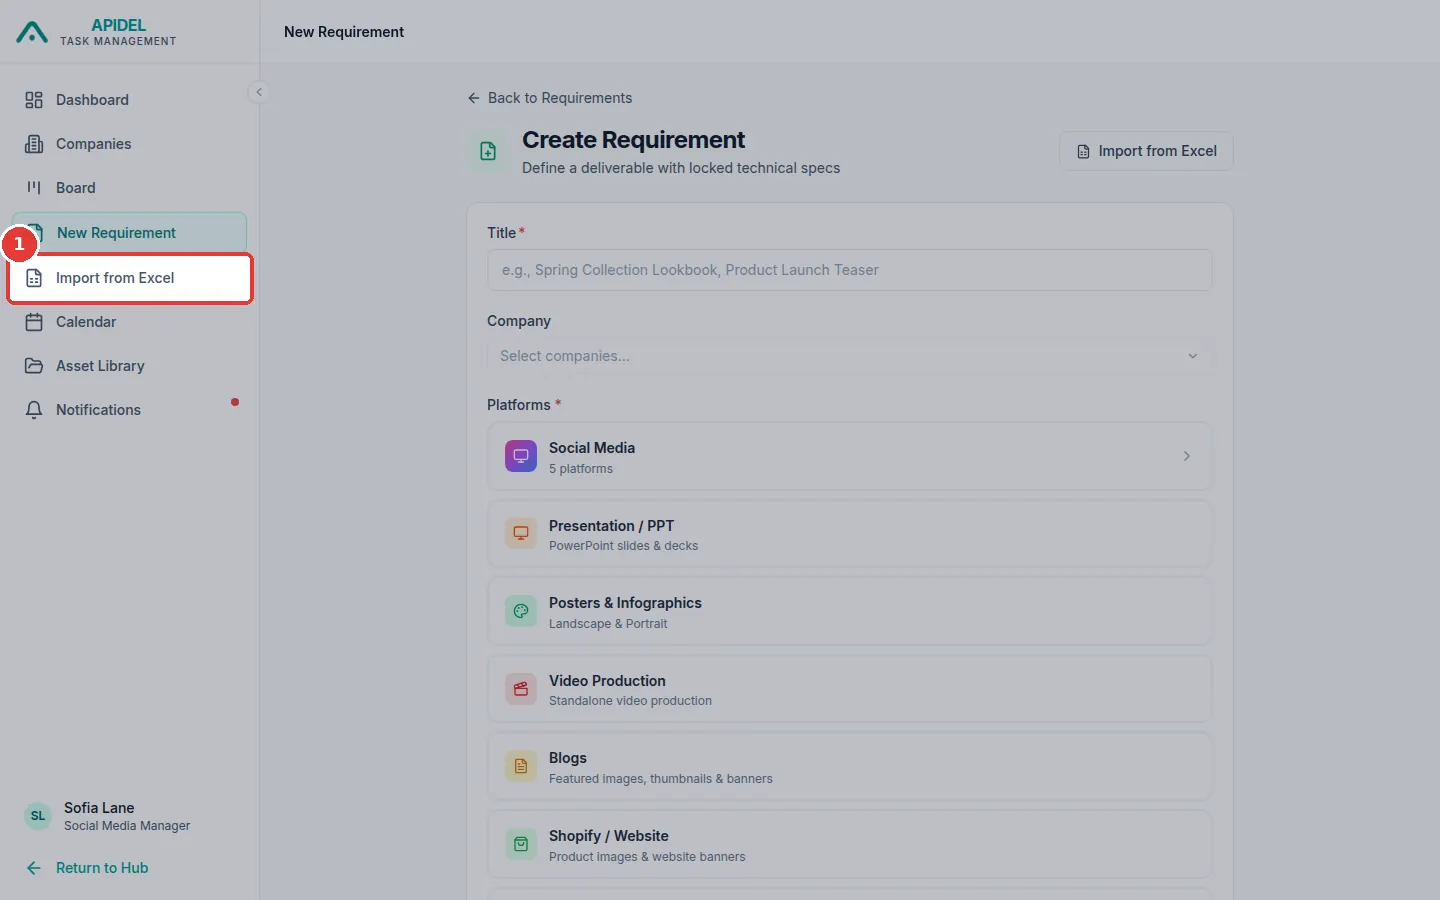
Click Import from Excel in the menu.
-
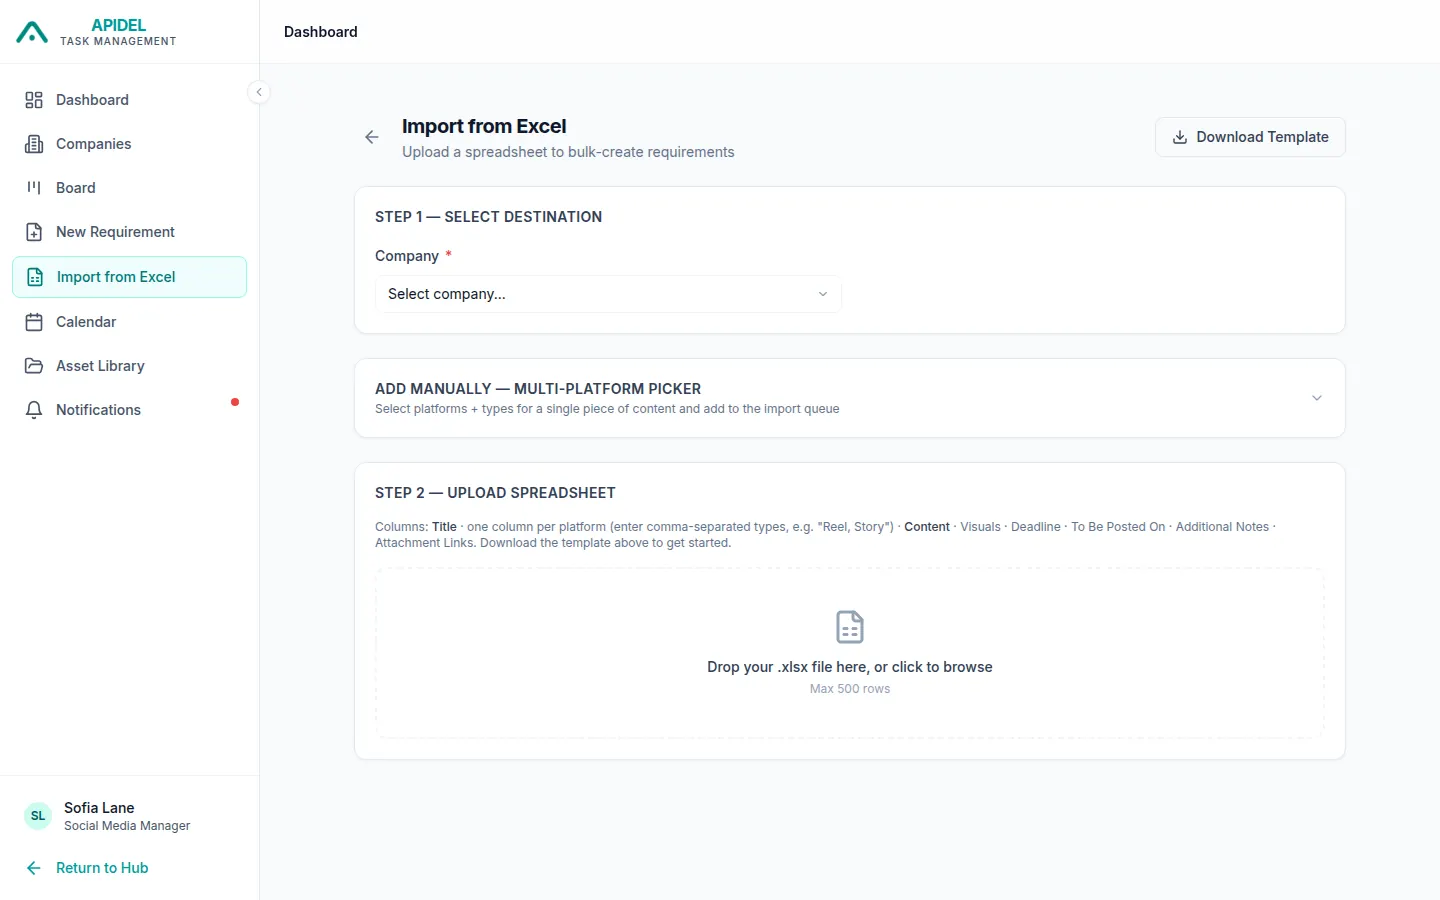
Click Download Template to get an empty spreadsheet.
-
Open the spreadsheet in Excel. Fill one row for each piece of work:
- Title and Content must be filled in.
- In the column of the platform (for example Meta), type the kinds of design, with commas. For example
Story, Post. - Dates are written like
2026-10-14(year-month-day).
- Save the spreadsheet.
- On the page, under Step 1, choose the Company.
- Under Step 2, click the grey box and choose your spreadsheet.
- Under Step 3, check the list. Red Error rows will be skipped.
- Click Import ... Requirements. You will see Import Complete.